How to Start Real Estate Videography: A Beginner's Guide
Aug 5, 2026 · 11 min read
Start real estate videography as a photographer: which gear you already own, how to price your first packages, and where AI shortens the learning curve.
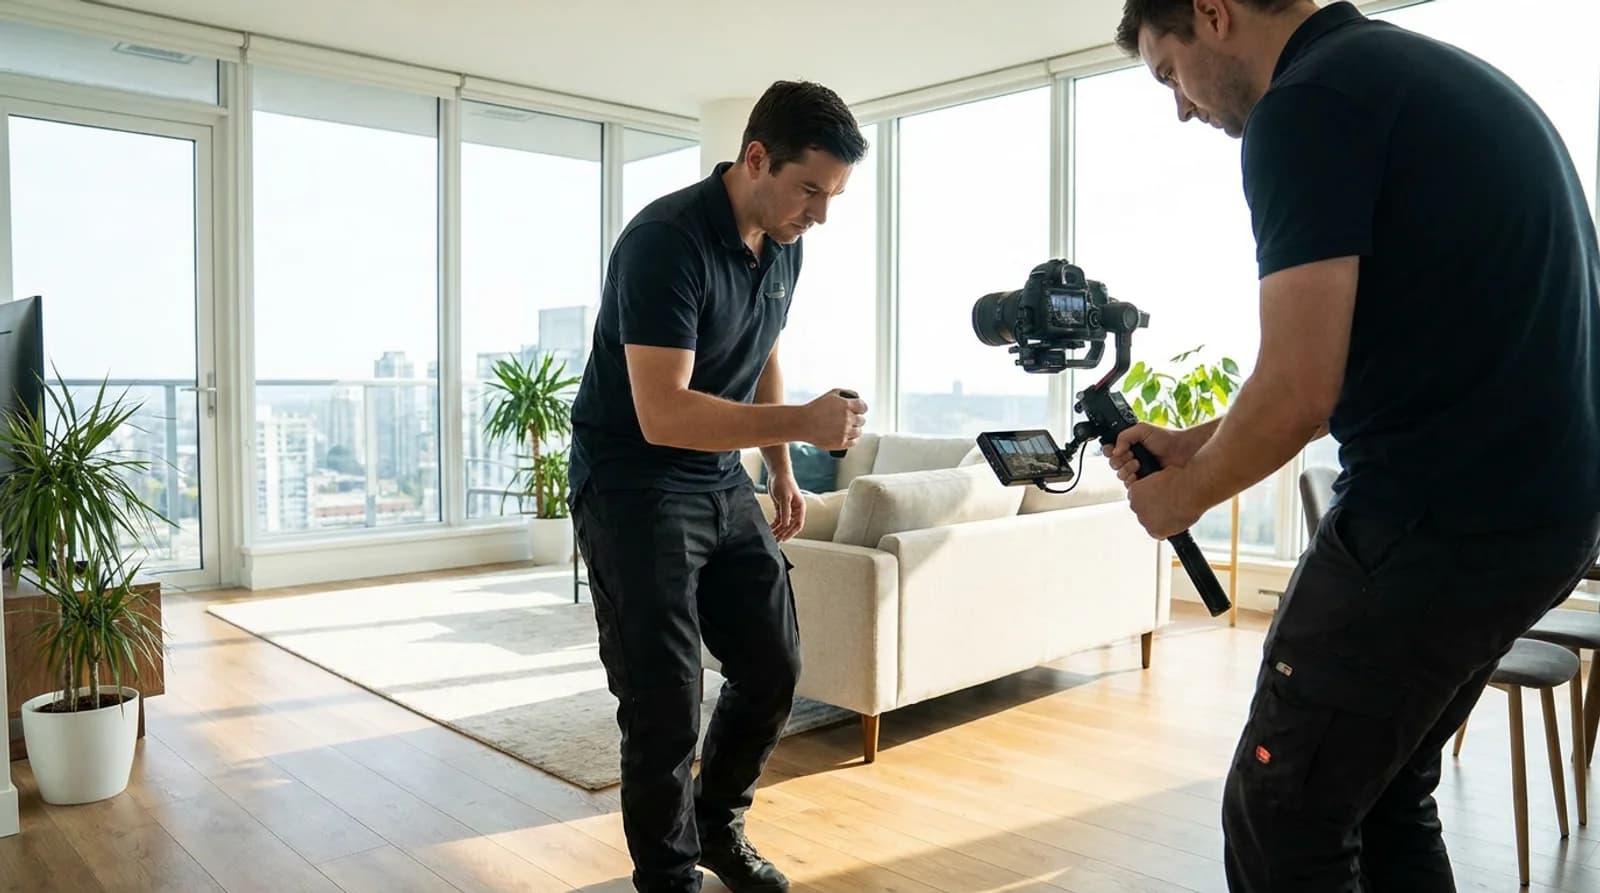
You do not need a video production background to start real estate videography. If you already shoot listing photos, roughly two-thirds of the gear in your bag (camera body, wide lens, tripod) works for video without modification. The real starting costs are a gimbal stabilizer and a mic, a few hundred dollars total, and the real starting client list is the agents you already shoot for. This guide walks through what to buy, what to charge, where your first bookings come from, the delivery specs MLS and social actually require, and where AI tools remove the editing bottleneck that stops most photographers from ever offering video.
What You Already Own vs. What You Need to Buy
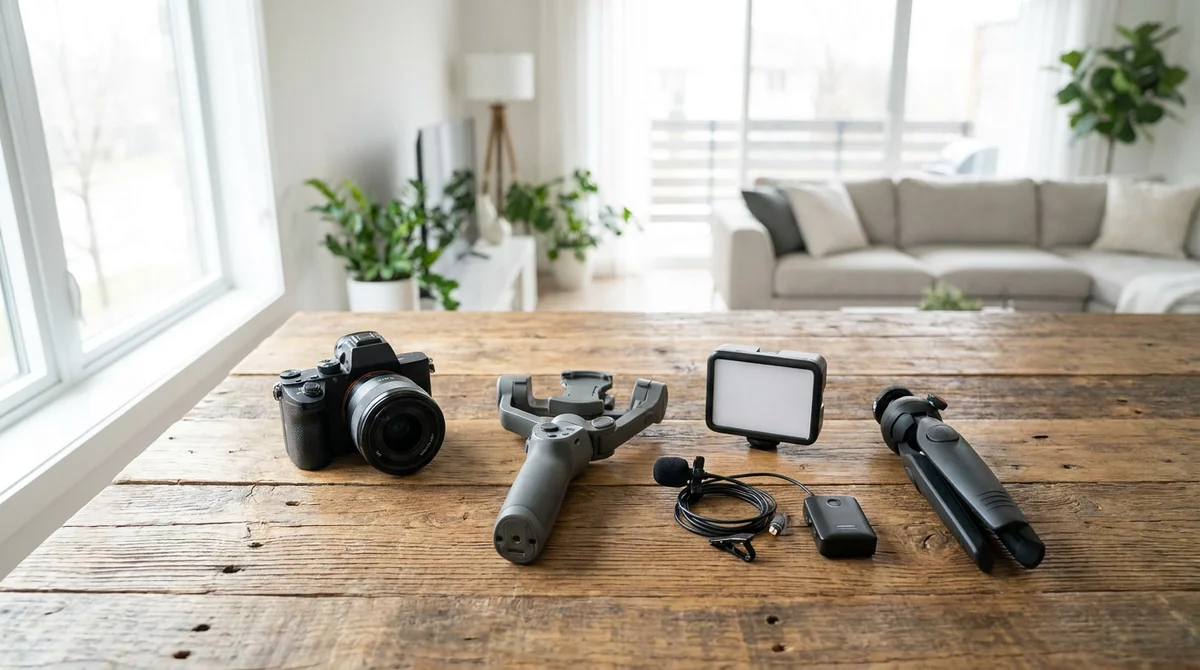
Real estate videography and real estate photography share more equipment than most photographers assume. The camera body that shoots your interiors in raw already shoots clean 4K video. The wide lens that keeps rooms from looking cramped in stills does the same job in motion. The only categories genuinely worth adding are stabilization, audio, and exposure control for moving footage.
| Gear | Already in your bag? | If you need to buy it | Why it matters for video |
|---|---|---|---|
| Camera body (DSLR/mirrorless) | Yes, almost always | — | Most bodies from the last five years shoot clean 4K without an upgrade |
| Wide-angle lens (16-24mm) | Yes | — | The same glass that makes rooms read large in stills reads large in motion |
| Tripod | Yes | — | Needed for static establishing shots and slow, controlled pans |
| Gimbal stabilizer | Rarely | $150-450 | The single biggest quality jump for a first walkthrough; turns handheld footage into a smooth, professional-looking shot |
| Lavalier microphone | Rarely | $50-150 | Required the moment you add an agent intro or on-camera voiceover |
| ND filter kit | Sometimes | $80-150 | Video needs a fixed shutter speed (usually 1/50), so you control exposure with ND filters instead of shutter speed |
| Extra memory cards | Sometimes | $40-100 | 4K footage fills a card fast: budget 3-5x what a stills-only shoot uses |
Add it up and a realistic starter kit runs $300-700, most of it a one-time gimbal purchase. That is less than the price of a single dedicated videographer shoot in most markets, and it is gear you keep for every booking after. If you are weighing whether video upsells are worth the investment at all, our breakdown on the highest-margin add-ons for real estate photographers covers where video ranks against staging, twilight, and drone.
Pricing Your First Video Packages
Price video the same way you already price photography: as tiers, not a single flat rate, with the middle tier carrying your best margin. Because you are reusing a shoot you were already booked for, your marginal cost to add video is mostly your own time on location and a short edit session, not a second visit.
| Package | What's included | Suggested price |
|---|---|---|
| Walkthrough Add-On | 60-90 second horizontal tour cut from gimbal B-roll + existing stills, one licensed music bed | $150-250 |
| Full Video Package | 90-120 second MLS-ready walkthrough + 3 vertical cutdowns for Reels/TikTok + short agent intro | $350-500 |
| Listing Launch Bundle | Full photo shoot + full video package + drone + twilight, delivered same day | $600-900 |
Anchor your pricing against what agents already pay a dedicated videographer, typically $300-500 for video alone with no photography included. When you bundle video into a shoot you are already on-site for, you can price competitively with a standalone videographer while keeping meaningfully more margin than they do, since you are not billing a second trip, a second invoice, or a second vendor relationship for the agent to manage.
Video is not the only high-margin add-on worth stacking onto a shoot. If you have not added virtual staging yet, the margin math is nearly identical (see should real estate photographers offer virtual staging). Run both together and one vacant-listing visit produces photos, staged images, and video.
Ready to add video without a second shoot? Turn today's listing photos into a polished tour with RoomLift's Compose.
Stage your first room in 20 seconds. No design skills needed.
Finding Your First Clients: Start With Your Existing Roster
The fastest path to your first paid video booking is the agents already on your calendar, not new marketing. If you shoot for ten agents a month, you already have ten warm conversations waiting to happen, and none of them require a pitch deck or a new referral source.
A simple rollout that works for most photographers:
- Add a checkbox to your booking form. Offer video as an option at the point of booking, not as an afterthought after the invoice is sent. Attach rates are far higher when the choice is made upfront.
- Shoot one or two test walkthroughs at a discount. Offer your best repeat client a reduced rate in exchange for using the footage in your portfolio. You need real, sellable clips before you can sell the service to anyone else.
- Lead with the convenience, not the technology. Agents do not care that you bought a gimbal. They care that one vendor now delivers photos and video from a single visit, on the same timeline, at one combined price.
- Ask for the referral once you have proof. After your first three or four video deliverables, ask your happiest clients to mention the service to colleagues at their brokerage. A video walkthrough is memorable enough that agents talk about it.
This mirrors how the best add-ons in this business tend to spread: not through cold outreach, but through the same clients trusting you with one more line item.
Deliverable Specs: MLS vs. Social
One reason photographers hesitate to add video is uncertainty about what to actually deliver. The specs are more forgiving than most expect, but MLS and social have different requirements and you should plan for both from the same shoot.
| Platform | Aspect ratio | Length | Notes |
|---|---|---|---|
| MLS / listing site | 16:9 | 60-120 sec | Standard MP4 (H.264), licensed music only, no on-screen captions required |
| YouTube | 16:9 | 60-180 sec | Longer full walkthroughs are tolerated; the opening frame should work as a thumbnail |
| Instagram Reels / TikTok | 9:16 | 15-30 sec | Vertical crop of your best B-roll, on-screen captions expected since most viewers watch muted |
| Instagram feed post | 1:1 or 4:5 | 15-30 sec | Keep key details out of the far edges, since square and portrait crops lose the sides of a 16:9 frame |
Shoot with all four in mind from the start. A single walkthrough, framed with some breathing room around the subject, gives you a horizontal MLS cut and a vertical social cut from the same footage instead of a second shoot. Always use licensed or royalty-cleared music: platforms flag unlicensed tracks, and a claimed video does nothing for an agent's listing.
Where AI Tools Cut the Learning Curve
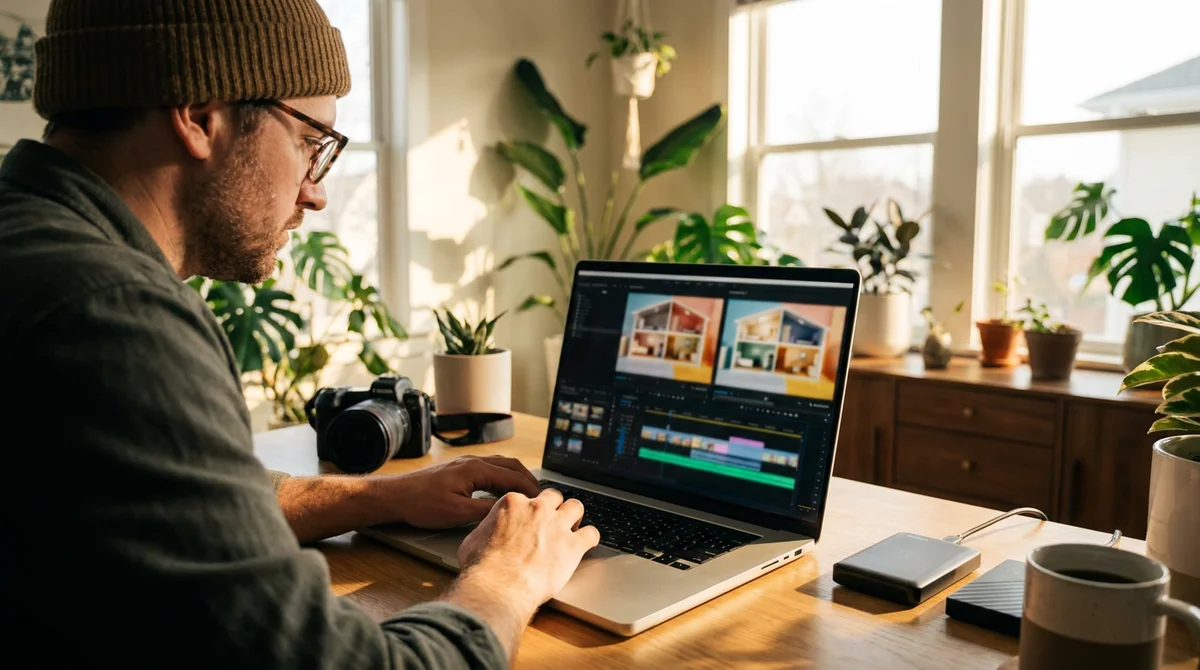
Editing is the part that actually stalls most photographers from launching video, not the shoot itself. You can learn to hold a gimbal steady in an afternoon; learning a timeline editor well enough to cut clean walkthroughs, add music, and export four different aspect ratios is a longer curve, and it is the part AI tools now shorten the most.
RoomLift's Compose is built for exactly this gap. It is a browser-based video creator that turns listing photos into a polished property tour: drop in your photos (or import them straight from a listing URL along with the property details), pick a preset like property tour or before/after, and work in a real timeline editor without learning traditional video software. It exports in every aspect ratio you need from one project: 16:9 for MLS, 9:16 for Reels and TikTok, 1:1 and 4:5 for feed posts.
Two features matter most for a photographer just adding video:
- AI camera motion. Compose animates still photos into smooth, moving shots, including generated close-up detail shots from a single frame. That means you can produce a video-feeling walkthrough even on shoots where you did not bring the gimbal, or fill gaps between your live-action clips.
- AI voiceover and matched background music. Instead of licensing and mixing a track by hand or scripting a voiceover, Compose generates both, tuned to the property, cutting a step that otherwise eats the most editing time.
None of this replaces an actual walkthrough shoot: clients still want real footage of the real home. What it replaces is the hours of manual editing that used to gate video entirely, turning a $300-500 videographer-level deliverable into something you produce yourself in minutes. If you already edit your own photos in-house to protect margin, the same logic applies: keep video editing in-house too, and the AI real estate photo editing workflow you already use for stills pairs naturally with it.
Common Mistakes When Starting
A few habits quietly slow photographers down when they add video:
- Buying too much gear up front. A gimbal and a mic are enough to start. Sliders, drones, and multi-camera rigs can wait until video is already paying for itself.
- Underpricing to "get experience." A discounted first shoot or two for portfolio footage is reasonable; giving video away indefinitely trains clients to expect it for free.
- Skipping captions on social cuts. Most social video is watched muted. A vertical cutdown without captions loses most of its audience in the first three seconds.
- Using unlicensed music. A claimed or muted video helps no one. Stick to licensed tracks or AI-generated scores built for the clip.
- Treating video as a separate business. The fastest path to bookings is bundling video into the photo shoot you already do, not building a standalone video brand from zero.
For a deeper look at how video pricing compares across a videographer, DIY, and AI, see our guide to real estate video marketing.
Putting It Together
Starting real estate videography is closer to adding a line item than starting a new business. Most of your gear already works, the incremental purchase is a few hundred dollars, your first clients are already in your contacts, and AI tools now handle the editing work that used to be the real bottleneck. Add a gimbal, price three tiers, offer it to your next ten bookings, and you have a working video service before your competitors finish debating whether to buy a drone.
Frequently Asked Questions
How do I start real estate videography if I'm a photographer, not a videographer?
Start with the camera body, wide lens, and tripod you already use for photos: all three work for video with no changes. Add a gimbal stabilizer ($150-450) for smooth walkthroughs and you have a sellable service. Most photographers can shoot, edit, and deliver their first video package within two weeks of deciding to add it.
What gear do I need to start shooting real estate video?
The only must-buy is a gimbal stabilizer ($150-450), which turns handheld walkthroughs into smooth, professional-looking footage. A lavalier mic ($50-150) and an ND filter kit ($80-150) round out a starter setup for under $500 total. Your existing camera, lens, and tripod cover the rest.
How much should I charge for a real estate walkthrough video?
Most photographers price their first walkthrough video as a $150-250 add-on to an existing photo shoot, scaling to $350-500 for a full package that includes vertical cutdowns for Instagram and TikTok. A combined photo-and-video listing launch bundle with drone and twilight commonly runs $600-900.
How do I get my first real estate videography clients?
Offer it to agents already on your photo roster before looking for new clients. Add a video checkbox to your booking form, shoot one or two test walkthroughs at a discount to build a portfolio, then use those clips to upsell your next ten bookings. Your existing client relationships convert far faster than cold outreach.
What's the difference between an MLS video and a social media video?
MLS and listing-site video is horizontal (16:9), typically 60-120 seconds, and delivered as a standard MP4. Social video for Reels, TikTok, and Stories is vertical (9:16), cut down to 15-30 seconds, and usually needs on-screen captions since most viewers watch with the sound off.
Can AI tools help me create real estate videos faster?
Yes. Tools like RoomLift's Compose turn listing photos into a polished video tour in minutes, complete with AI camera motion, voiceover, and background music, in every aspect ratio you need for MLS and social. It won't replace a live walkthrough shoot, but it removes the editing bottleneck that keeps most photographers from offering video at all.
Ready to transform your listings?
Stage your first room in 20 seconds. No design skills needed.