HDR Real Estate Photography: The Complete How-To Guide
Aug 8, 2026 · 13 min read
HDR real estate photography explained: bracketing settings, merge workflow, flambient comparison, and the halo and gray-window mistakes that cost callbacks.
HDR real estate photography merges multiple bracketed exposures of the same shot into one image that shows both a properly exposed room and the view through its windows. It exists because no single exposure can hold detail in a sunlit window and a shaded interior corner at the same time, a camera sensor typically resolves 12-14 stops of dynamic range, and that gap in a bright room routinely runs wider. This guide covers the bracketing settings to shoot, how to merge them in Lightroom, Photomatix, or with AI, how HDR compares to flambient, the mistakes that give HDR photography its bad reputation, and when it's worth outsourcing the edit instead of doing it yourself.
What HDR Is, and Why Interiors Need It
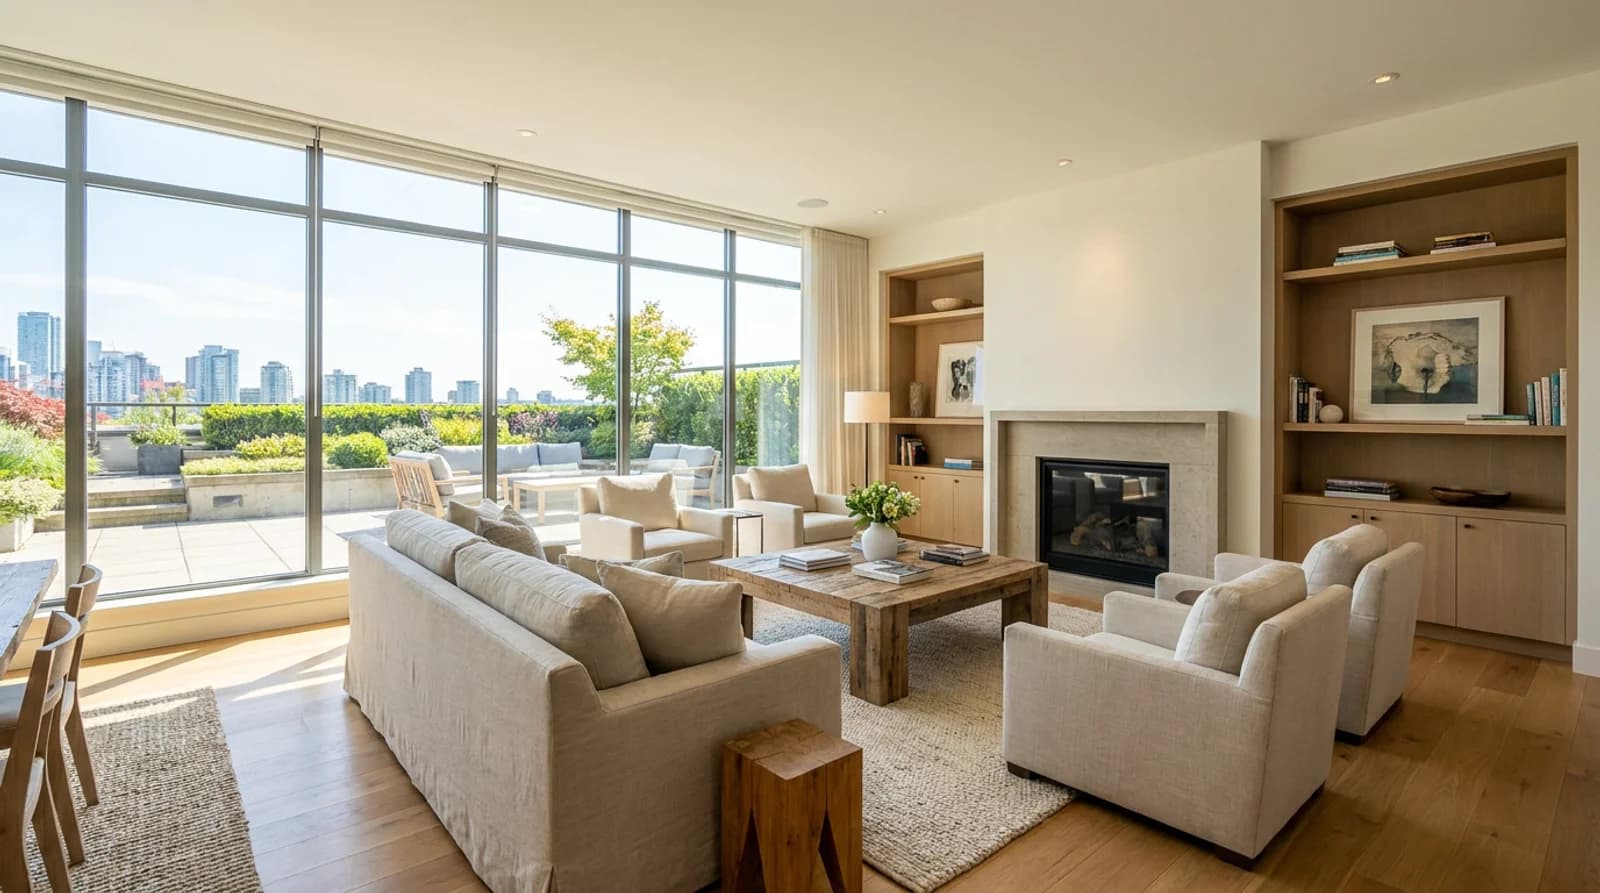
Every camera sensor has a fixed range of light it can capture in one exposure, from the darkest shadow with visible detail to the brightest highlight that isn't just white. Point that at a typical listing interior, a room lit by ceiling fixtures and lamps, next to a window looking out at full daylight, and you've created exactly the high-contrast scene a single exposure can't handle. Expose for the room and the window blows out to solid white. Expose for the window and the room goes dark and moody.
HDR solves this by shooting the same composition at several different exposure values, from a tripod, then blending them so each part of the final image is pulled from whichever bracket exposed it correctly. The room's shadows come from a brighter frame; the window's sky and yard come from a darker one. Done well, the result looks like what your eye actually saw standing in the room, not like an obviously processed composite.
This is the single most requested fix in real estate photo editing, because a blown-out window is the most common flaw in listing photos, and it's also the easiest one to prevent at the shoot with proper bracketing. Drag the slider to see the difference a proper window pull makes on the exact same room:
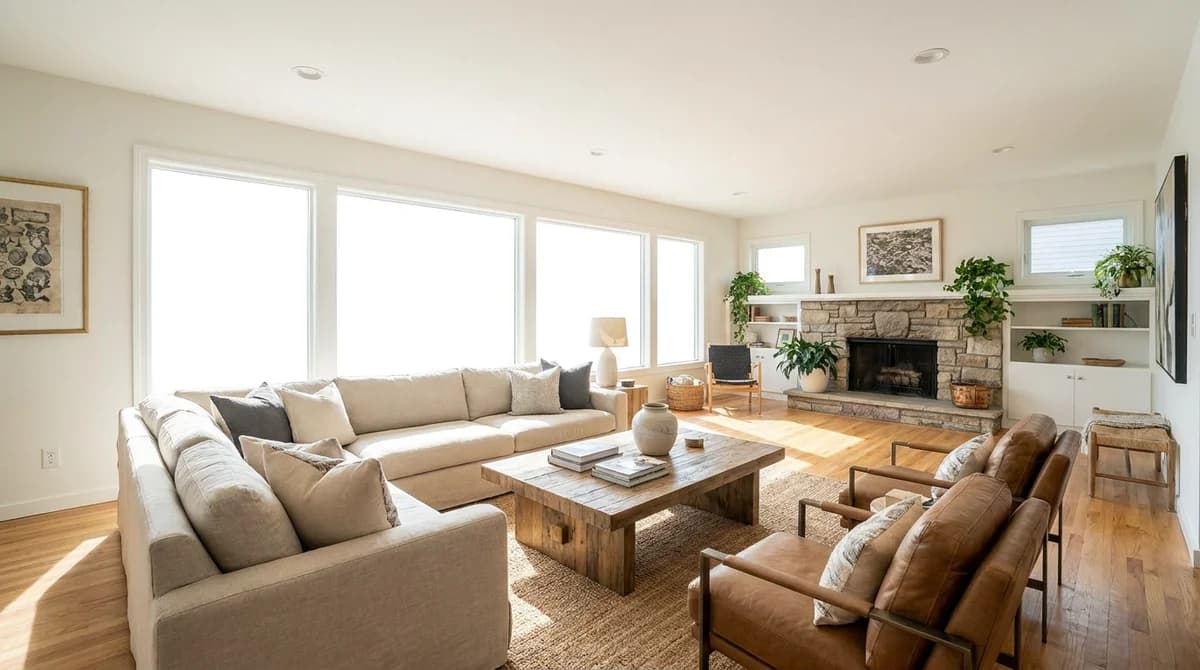
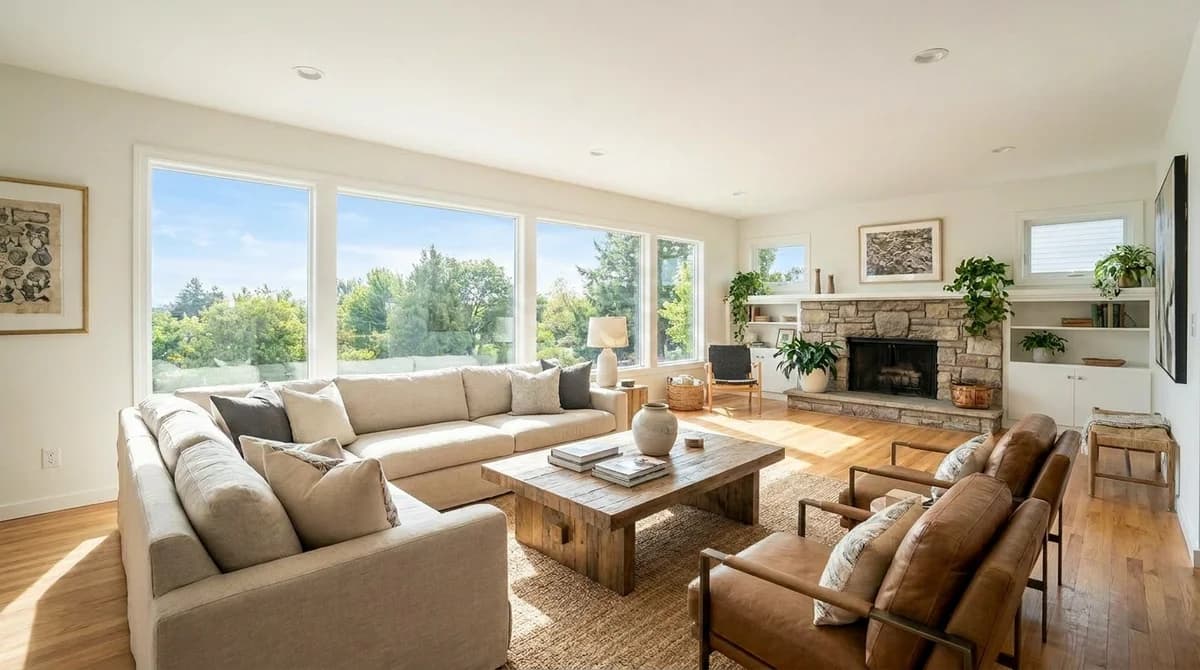
Our complete AI real estate photo editing workflow covers where the window pull fits alongside decluttering, sky replacement, and staging in a full listing edit.
Bracketing Settings Cheat Sheet
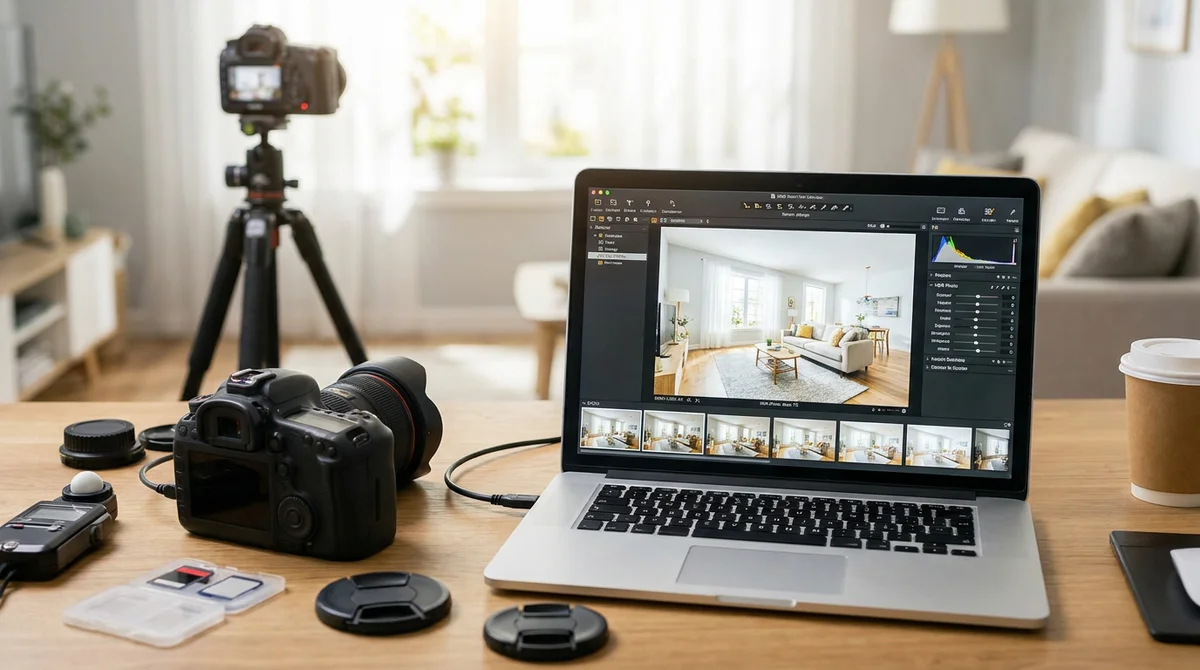
Set your camera to Aperture Priority or Manual, lock focus, and use a 2-second timer or remote release to avoid shake. Shoot RAW, always. Here's what to dial in by scenario:
| Scenario | Brackets | Exposure spacing | ISO | Aperture | Notes |
|---|---|---|---|---|---|
| Standard room, moderate window light | 3 | ±2 EV | 100 | f/8-f/11 | Covers most bedrooms, hallways, closed-window rooms |
| Bright window or glass door | 5 | ±1.3 EV | 100 | f/8-f/11 | Extra brackets prevent gaps in window and sky detail |
| Extreme contrast (skylights, wall-to-wall glass) | 7 | ±1 EV | 100 | f/8-f/11 | Tighter spacing smooths the blend and reduces halo risk |
| Twilight or mixed interior/exterior light | 3 ambient + 1 flash pop | ±2 EV | 100-200 | f/8 | Ambient brackets for the window, flash pop for flambient blending |
A few settings matter more than people expect. Keep aperture fixed across the whole bracket set (only shutter speed should change) so depth of field stays identical. Keep ISO at base to minimize noise in your darkest bracket, which usually needs the most shadow recovery. And always shoot one extra bracket wider than you think you need, an underexposed frame you don't end up using costs nothing, but a missing one leaves a gap the merge software has to guess at.
The Merge Workflow: Lightroom, Photomatix, or AI
Once you have your brackets, you need software to blend them. Three approaches dominate real estate work, and each trades speed for control differently.
| Method | Time per image | Learning curve | Halo risk | Best for |
|---|---|---|---|---|
| Lightroom HDR Merge | 1-2 min | Low, built into your existing catalog | Low to moderate | Photographers already in the Adobe ecosystem, natural default look |
| Photomatix Pro | 2-3 min | Moderate, more sliders to tune | Moderate without restraint | Photographers who want manual tone-mapping control for a specific style |
| Exposure fusion plugins (Enfuse, Aurora HDR) | 1-2 min | Moderate | Low | Blending without full tone-mapping, closer to a natural exposure |
| AI window pull / single-shot HDR | Seconds | Low | Low, when well-trained on interiors | Fast batch turnaround with no bracket shooting required at all |
Lightroom's merge is the default choice for most working photographers, largely because it lives inside the culling and editing session you're already running, and its default result rarely needs more than a highlights or shadows nudge afterward. Select your brackets, right-click, Photo Merge > HDR, and you get a 32-bit DNG you can edit like any other RAW file.
Photomatix earns its place when a photographer wants a specific tone-mapped style, more punch, more texture in the sky, more separation between light and shadow, but it demands restraint. Left on aggressive presets, it produces the oversaturated, halo-ringed look that gave HDR photography its bad name in the early 2010s.
The newest option skips bracketing at the shoot entirely. AI models trained on real estate interiors can take a single, correctly-exposed-for-the-room frame and reconstruct a believable window view, effectively doing the window pull without a tripod bracket set. This won't replace HDR for every scene, a genuinely blown, texture-less window has less to reconstruct from, but for photographers optimizing every minute of shoot time, it removes a step from the capture side of the workflow, not just the edit side.
Flambient vs. HDR: Which Should You Shoot?
Flambient, a blend of "flash" and "ambient," is HDR's higher-effort cousin. Instead of (or alongside) ambient brackets, you fire an off-camera flash into the room, bouncing it off the ceiling for soft, directional fill, then blend that flash-lit exposure with your ambient window bracket in Photoshop using luminosity masks.
| HDR (bracket + merge) | Flambient (flash + ambient blend) | |
|---|---|---|
| Shots needed | 3-7 ambient brackets | 1-2 flash exposures + ambient window brackets |
| Extra gear | Tripod only | Tripod + off-camera flash/speedlight |
| Light quality | Can read flat or gray if over-blended | Warmer, more directional, closer to natural room light |
| Editing time | Faster, mostly automated merge | Slower, manual masking in Photoshop |
| Skill floor | Lower, most merge software handles it | Higher, requires flash technique and blend skill |
| Best fit | High-volume, fast-turnaround listings | Luxury listings where light quality matters most |
Neither one is objectively better; they solve different problems. HDR is the right default for volume, a photographer running four or five shoots a day needs a technique that merges cleanly with minimal manual work. Flambient earns its extra time on listings where the client is paying for a more editorial look and the light in the room genuinely benefits from directional fill, dim rooms, north-facing rooms, spaces with little natural light to begin with.
Skip the bracket math entirely, RoomLift pulls window detail and fixes exposure from a single upload in seconds.
Stage your first room in 20 seconds. No design skills needed.
Common HDR Mistakes That Give It a Bad Reputation
HDR's reputation problem is overuse, not the technique itself. Here's what actually causes the look agents and buyers react badly to.
- Halos around windows and doorways. The most common giveaway. Caused by pushing local contrast or "clarity" too hard during tone mapping, especially around high-contrast edges. Widen your bracket spread and back off detail sliders rather than letting default presets run at full strength.
- Gray, lifeless windows. The opposite failure: a window that's been pulled down in exposure but never had its color or contrast restored, leaving a flat gray rectangle where blue sky and greenery should be. Check white balance on your brightest bracket specifically, it's often shot under different color temperature than the room.
- Oversaturated, cartoonish color. Classic "HDR look" from tone-mapping software cranking saturation and micro-contrast simultaneously. If a room looks like a video game render, dial back both.
- Ghosting from movement between brackets. Curtains, ceiling fans, trees outside a window, anything that moves during the bracket sequence creates a smeared or doubled edge in the merge. Turn off fans, weigh down curtains, and time exterior shots for still air.
- Missing highlight or shadow data. If your darkest bracket still has blown windows or your brightest bracket still has black shadows, your spread wasn't wide enough. Add a bracket rather than trying to recover detail that was never captured.
Getting these right is largely a shooting discipline, not a software setting. A photographer who nails bracket spacing and flags movement on-site will spend less time fixing halos and ghosting in every downstream edit, which is exactly the leverage a busy shooter needs. For the exterior half of this same principle, converting daytime brackets into a warm dusk shot, see our guide to day-to-dusk real estate photo editing.
Editing Time: DIY vs. Outsourcing
A clean HDR merge in Lightroom runs 1-2 minutes of active work per image once you're used to the process, plus whatever fine-tuning a specific room needs. Across a 30-image listing, that's a meaningful chunk of an afternoon, before you've touched decluttering, sky replacement, or staging.
Outsourced HDR editing services typically charge a small per-image fee and return files in 24-48 hours, which works well if you shoot a predictable, moderate volume and don't need same-day delivery. The tradeoff is turnaround and control: you lose the ability to offer a listing same-day, and any style notes have to travel through an editor who's never seen the room.
The AI-assisted middle path, correcting exposure and pulling window detail from a single frame in seconds rather than merging a manual bracket set, keeps editing in-house without the manual time cost. That matters for the "deliverable perfectionist" type of photographer specifically: the ones who want every image polished and consistent, but also want to hand the whole set back the same day. If you're weighing this tradeoff across your whole editing pipeline, not just the HDR step, our breakdown of real estate photo editing outsourcing walks through the full cost and turnaround math.
From Stills to the Next Billable Deliverable
Once a listing's HDR stills are edited and delivered, the fastest photographers aren't stopping there. Turning the same photo set into a short property-tour video is a natural next deliverable, and it no longer requires a second shoot or a video editor.
Compose is a browser-based tool that takes the listing photos you already shot and edited and turns them into a polished video tour: drop them into a timeline, apply a preset like property tour or before/after, and export in whatever aspect ratio the placement needs, 16:9 for the MLS listing, 9:16 for Instagram Reels and TikTok, 1:1 or 4:5 for a feed post. It can pull photos and details directly from a listing URL, generate an AI voiceover and background music matched to the property, and animate still photos into smooth camera moves, including generating close-up detail shots from a single photo. What used to mean booking a videographer for $300-500 and waiting days for the edit now runs in minutes, using the same HDR-edited photos you already have.
Putting It Together
HDR real estate photography is a bracketing and merging discipline, not a look. Shoot 3 brackets for a standard room and 5-7 for high-contrast windows, keep aperture and ISO fixed across the set, and merge in whichever tool matches your volume, Lightroom for speed, Photomatix for manual control, AI window-pull for the fastest batch turnaround. Watch for halos and gray windows, the two mistakes that give HDR its reputation, and know when flambient's extra flash step is worth the time versus when a clean HDR merge gets the listing out the door faster. Get the stills right, and every downstream deliverable, from the MLS upload to a same-day property-tour video, gets easier too.
Frequently Asked Questions
What is HDR real estate photography?
HDR (high dynamic range) real estate photography combines multiple exposures of the same shot, typically 3 to 7 brackets, into one image that holds detail in both the bright window view and the shaded interior. A single exposure can't do this because a camera sensor captures roughly 12-14 stops of dynamic range, and a sunlit window against a shadowed room interior often exceeds that spread.
How many bracketed exposures do I need for real estate HDR?
Three brackets at plus/minus 2 EV covers most standard rooms. Bump to 5 brackets at plus/minus 1.3 EV when a bright window or glass door dominates the frame, and use 7 brackets at plus/minus 1 EV for extreme contrast scenes like great rooms with skylights and floor-to-ceiling glass. Tighter spacing between more brackets produces a smoother blend with less halo risk.
What's the difference between HDR and flambient real estate photography?
HDR blends multiple ambient-light brackets to recover window and shadow detail from one tripod position. Flambient blends a flash-lit exposure with an ambient exposure in Photoshop, giving warmer, more directional light at the cost of a manual masking step and an off-camera flash. HDR is faster and easier to batch; flambient produces a more polished, editorial look for higher-end listings.
What causes halos in HDR real estate photos?
Halos appear when tone-mapping software pushes local contrast too hard around high-contrast edges, most often window frames, doorways, and light fixtures. The fix is to widen your bracket spread so the merge has real exposure data to draw from, then dial back local contrast and detail sliders rather than relying on the algorithm's default strength.
Is Lightroom or Photomatix better for HDR real estate photos?
Lightroom's built-in HDR Merge is faster, about 1-2 minutes per image, and defaults to a natural look with minimal halo risk, which suits most real estate work. Photomatix Pro gives more manual tone-mapping control and can produce a punchier result, but takes longer per image and requires more restraint to avoid the oversaturated HDR look that reads as amateur on MLS.
Should I edit HDR real estate photos myself or outsource them?
It depends on volume and turnaround needs. Outsourcing an HDR merge and edit typically costs a per-image fee and comes back in 24-48 hours, which works if you shoot a handful of listings a week. Editing in-house, especially with AI-assisted tools that pull window detail in seconds instead of a manual bracket merge, keeps same-day turnaround and the editing margin you'd otherwise hand to a third party.
Ready to transform your listings?
Stage your first room in 20 seconds. No design skills needed.