Real Estate Photography Tips: How to Shoot Listings That Sell
Feb 23, 2026 · 7 min read
Professional real estate photography tips for agents and photographers — camera settings, lighting, room preparation, exterior shots, and how AI staging can upgrade even well-shot photos.
Real estate photography is the most influential marketing decision an agent makes for a listing. According to the National Association of Realtors, 97% of home buyers search for properties online, and photos are the primary factor determining whether a buyer requests a showing. The quality of a listing's photography directly determines how many qualified buyers see and engage with the property.
This guide covers the complete real estate photography process — equipment, preparation, shooting technique, and AI enhancement — for agents shooting their own listings and those briefing professional photographers.
The Business Case for Quality Photography
The numbers make a clear argument:
- Properties with professional photography sell 32% faster according to Zillow
- Listings with high-quality photos receive 47% more per square foot in asking price
- Buyers spend an average of 20 seconds per listing photo online — your photos have 20 seconds to create desire
- 67% of buyers say they would skip scheduling a showing based on poor photos alone
For agents, this means that the return on quality photography investment — whether that's hiring a professional photographer or upgrading your own technique — is among the highest available in real estate marketing.
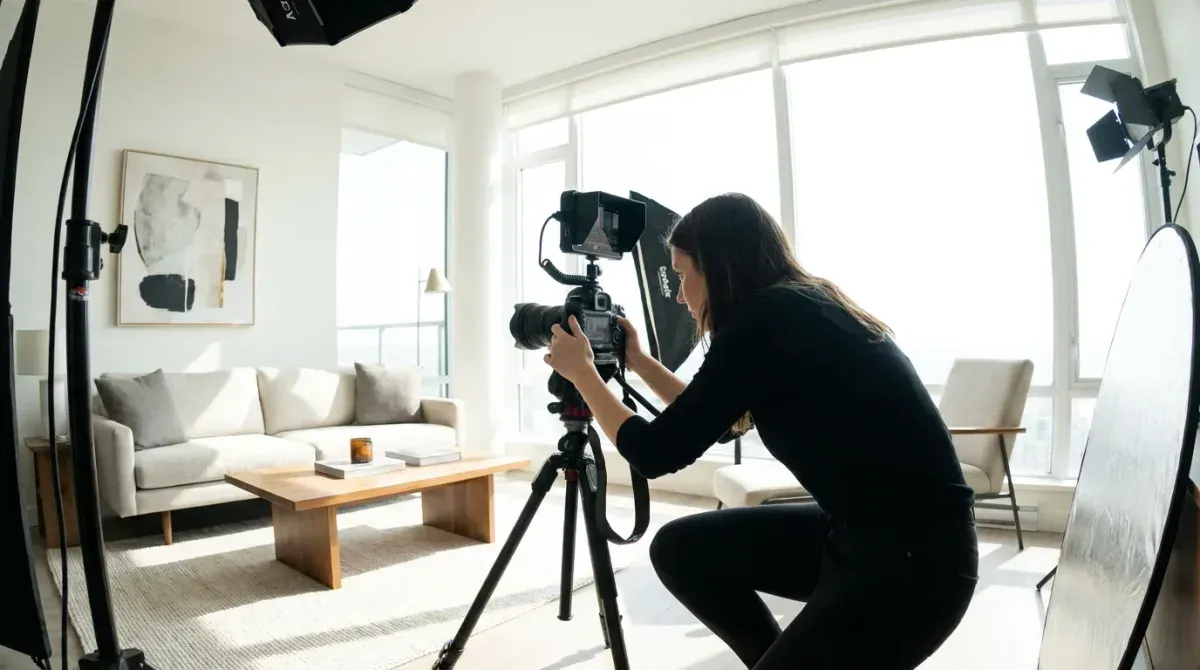
Equipment
For Agents Shooting Their Own Listings
Camera: A mirrorless or DSLR with a crop or full-frame sensor. Entry-level models (Sony A6000 series, Canon EOS R50, Nikon Z30) are adequate for most listings.
Lens: A wide-angle lens is non-negotiable for interiors. The most popular choice for crop-sensor cameras: 10–16mm. For full-frame: 16–24mm. A 24mm lens on a full frame is the minimum for interior shots; anything longer will make rooms look cramped.
Tripod: Essential. A tripod enables long exposures for HDR, ensures consistent framing, and eliminates camera shake. Use a ball head for flexible positioning.
Flash: A bounce flash or two off-camera speedlights dramatically improve interior lighting quality and reduce the time needed for HDR bracketing. Not essential for beginners, but important for professional-quality results.
Alternative for lower-budget shoots: Modern smartphone cameras (iPhone Pro, Google Pixel Pro) in wide-angle mode with a tripod can produce acceptable results for standard residential listings when lighting is good.
Pre-Shoot Preparation
The quality of the preparation determines the quality of the photography more than the equipment does. No camera or technique compensates for poor preparation.
The day before the shoot:
- Complete all staging (declutter, depersonalize, furniture arrangement)
- Deep clean all surfaces
- Replace burned-out bulbs — ensure all light sources are working
- Hide all personal items including pet supplies, medications, children's toys
On the day of the shoot:
- Open all curtains and blinds fully
- Turn on every light in the house — overhead lights, table lamps, under-cabinet lights, bathroom vanities
- Remove cars from the driveway and street visible from exterior
- Hide power cords, cleaning supplies, and pet items
- Set dining table simply — three place settings maximum
- Put fresh flowers in the kitchen and primary bedroom
- Flush and clean all toilets, lower all toilet seats
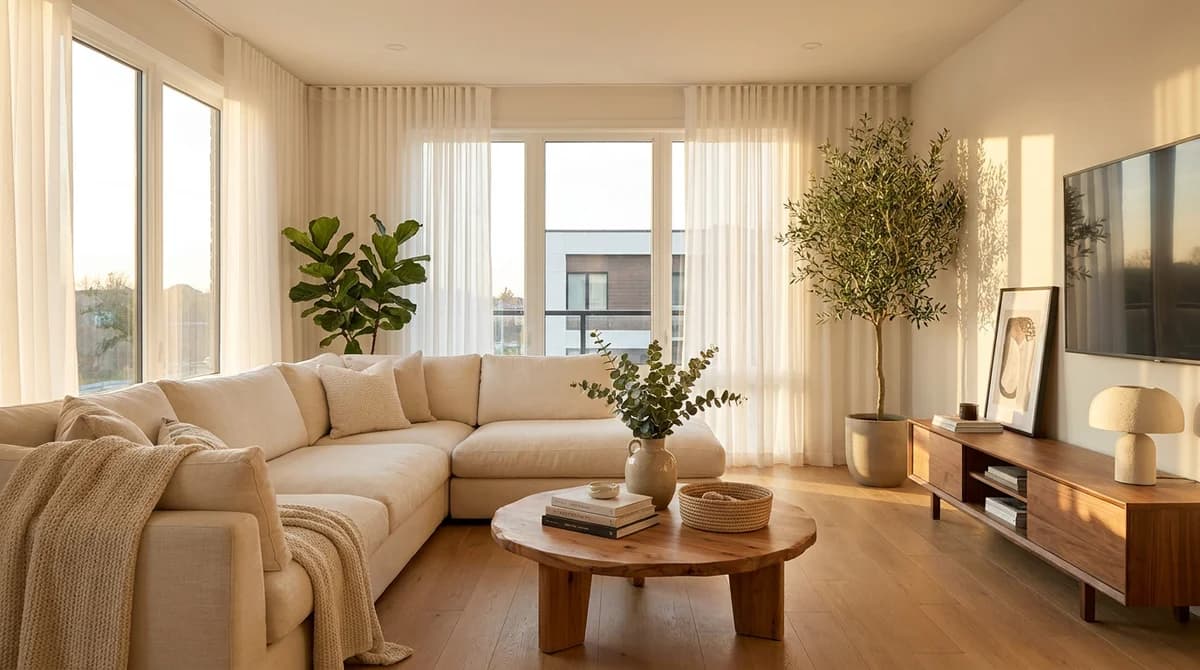
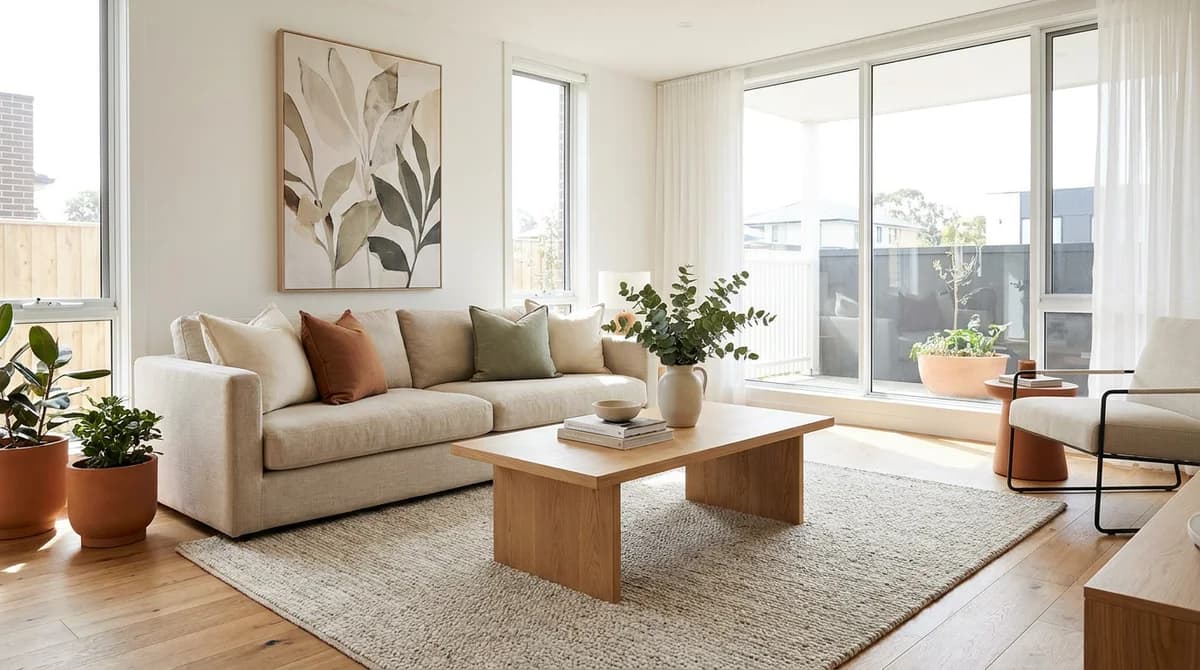
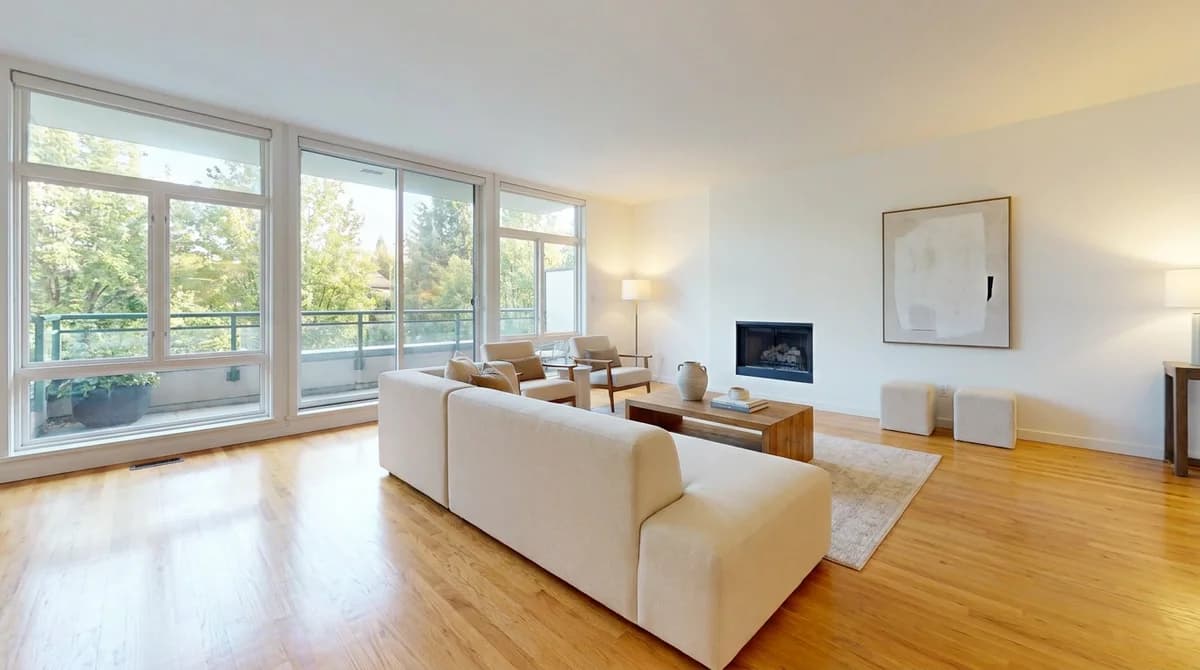
Shooting Technique: Room by Room
Interior Rooms
Camera position: Corner of the room, 4–5 feet from the floor (average eye level). Shooting from a corner gives the widest field of view and captures two walls rather than one.
Camera angle: Keep the camera level (not tilted up or down). Vertical lines (door frames, walls) should be straight in the frame. A tilted camera creates distorted perspective that looks amateur.
Framing: Include ceiling and floor in every shot. Cropped ceilings or floors are a common mistake that makes rooms look small.
Aperture: f/7.1 to f/8 for sharp focus from foreground to background.
Shooting for HDR: Take three bracketed exposures (−2, 0, +2 EV). The underexposed shot captures window detail; the overexposed shot captures shadow detail; blending creates balanced exposure throughout. Most professional real estate photographers use this technique.
Flash technique: If using flash, bounce the flash off the ceiling directly above rather than firing it straight at the room. This creates diffused, natural-feeling light without harsh shadows.
Kitchen
The kitchen requires the most careful composition. Position the camera to capture as much counter space as possible while showing the full depth of the room.
- Shoot from the doorway or at the end of the kitchen looking down the length
- Include a glimpse of the dining area if possible — buyers want to see the relationship between kitchen and dining
- Show the range/stove prominently — it's the focal point buyers look for
- Include the sink in at least one shot — buyers assess kitchens partly by the sink quality
Bathrooms
Bathrooms are small and challenging. A few techniques help:
- Use the widest angle possible and shoot from the doorway
- Include the vanity, mirror, and as much of the shower/tub as possible in one shot
- Turn on all vanity lights — bathroom lighting is often the warmest and most flattering
- Fresh white towels folded neatly are the highest-impact bathroom staging investment
Bedrooms
- Position in the corner opposite the bed for the widest view
- Include the headboard as the room's focal point
- Show available floor space on both sides of the bed
- Include nightstands and lamps — they add warmth and scale
Exterior
- Shoot from the street or driveway at a 45° angle to the facade — straight-on shots make properties look flat
- Shoot at the golden hour (early morning or late afternoon) for warm, flattering light
- Ensure the front yard is presentable: lawn mowed, weeds removed, front path clear
- Consider a twilight shot for premium listings — interior lights on against a deep blue sky
Editing and Post-Processing
Even well-exposed photos need editing before publication.
Essential edits:
- Exposure and contrast adjustment
- White balance correction — mixed light sources (daylight + tungsten) create unnatural color casts
- Perspective correction — correct any vertical or horizontal distortion from the wide-angle lens
- Sky replacement for overcast exterior shots (AI tools automate this)
AI enhancement tools:
- Luminar Neo — AI-powered photo enhancement with sky replacement, object removal, and exposure correction
- Adobe Lightroom with AI tools — industry standard for batch processing
- BoxBrownie / Styldod — professional editing services that accept raw files and return edited images in 24 hours
Virtual staging in post-processing: For empty rooms, AI virtual staging is applied after editing the base photography. Upload the edited, empty room photo to RoomLift and receive a staged version within 60 seconds.
The AI Photography Workflow
A complete AI-enhanced real estate photography workflow:
- Shoot: Follow the guidelines above for all rooms
- Edit: Basic exposure, white balance, and perspective correction
- Stage: Upload empty room photos to AI staging tool (RoomLift) for virtual staging
- Sky replacement: Replace overcast exterior skies with clear blue (Luminar or BoxBrownie)
- Final review: Check all photos at full resolution before upload
- Disclosure: Include required MLS disclosure for any digitally enhanced photos
This workflow — even when agents photograph their own listings — produces listing photos comparable to professional photography combined with professional virtual staging, at a fraction of the cost.
Try AI virtual staging — enhance your listing photos in 60 seconds →
Sources & References
- National Association of Realtors (2024). Real Estate in a Digital Age Report. NAR Research Reports.
- Zillow Group (2023). Consumer Housing Trends Report. Zillow Research.
- Redfin (2024). Real Estate Photography Study. Redfin Research.
Ready to transform your listings?
Stage your first room in 20 seconds. No design skills needed.