How to Use AI for Interior Design: A Practical Guide for Designers
Feb 23, 2026 · 8 min read
A step-by-step guide to using AI in your interior design workflow. From client concept approval to e-design packages — how professional designers are cutting approval time from weeks to hours.

One designer we know used to send concepts to a 3D artist, wait two to three days, receive three renders, show them to the client, and repeat the cycle when they asked for changes. The entire approval process for a single room could take two weeks.
She now generates six concept options in a client meeting, live, while the client sits across from her. The approval happens the same day.
This is what AI has done for interior design — not replace the designer's expertise, but remove the bottleneck between idea and visualization. Here's how to use it.
What AI Can (and Can't) Do for Interior Designers
Before diving into the workflow, it's worth being honest about the boundaries.
AI is excellent at:
- Generating photorealistic concept renders from a room photo in seconds
- Exploring multiple design directions quickly and cheaply
- Producing content for client presentations, e-design packages, and portfolio work
- Handling standard residential room types with consistent quality
- Translating a style reference (mood board, Pinterest image) into a room visualization
AI is not a replacement for:
- Understanding how a client actually uses their space day-to-day
- Specifying materials by tactile quality, durability, or sustainability criteria
- Managing contractors, timelines, and budgets
- Creating precise construction documents or dimensioned drawings
- The design judgment that comes from years of project experience
The designers getting the most from AI are using it for what it does well — visual communication — and applying their expertise to everything else.
Step-by-Step: Using AI in Your Design Workflow
Step 1: Client Brief and Discovery
AI starts being useful before you open any rendering software. Use ChatGPT to structure your intake process.
Useful prompts for the discovery phase:
- "Help me create a design brief questionnaire for a client redesigning a 3-bedroom apartment. They have two children under 10. Focus on lifestyle, storage needs, and how the family uses each room."
- "Summarize the key design principles of Japandi style and how they differ from Scandinavian minimalism. I'm preparing a client presentation."
- "Write a project proposal outline for an e-design package covering living room, master bedroom, and home office. Budget: $15,000."
ChatGPT won't replace the discovery conversation, but it's excellent at structuring your thinking and drafting documents.
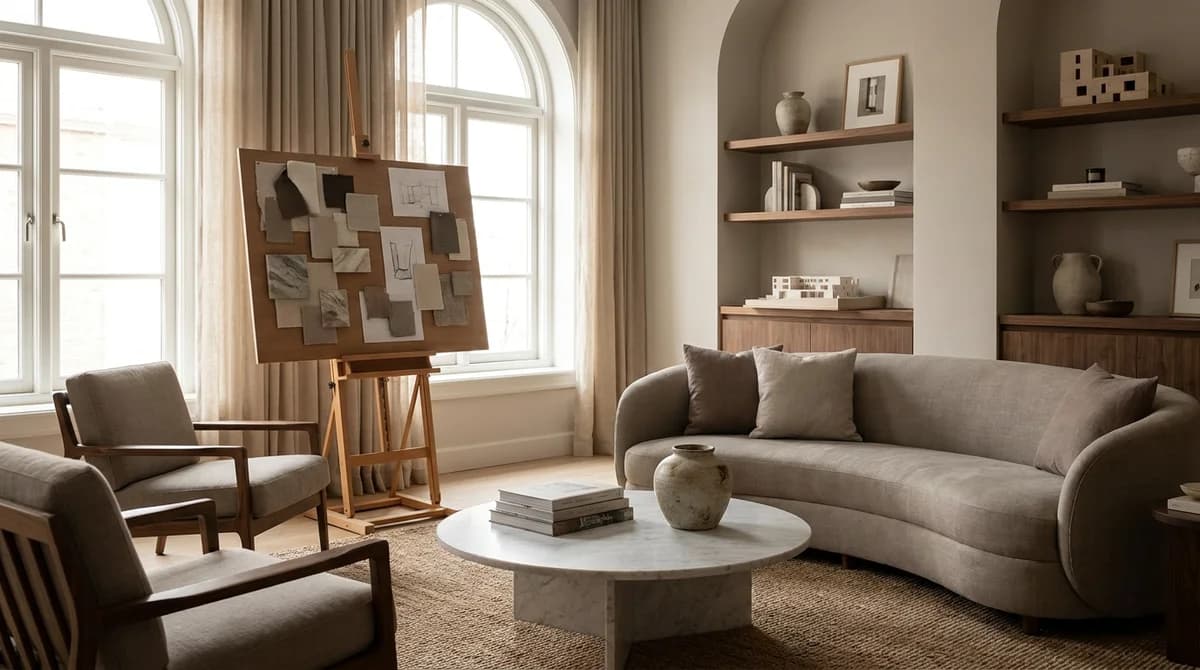
Step 2: Mood Board and Style Direction
Once you have the brief, use AI for early visual exploration before committing to a direction.
Midjourney for mood-boarding: Generate abstract concept images that capture the feeling of a direction without being tied to any specific room. Use prompts like:
"Interior design mood board, [style], warm natural light, [material palette], editorial photography style, hyper-realistic"
This is a fast way to put three or four visual directions in front of a client and get early alignment before you invest time in room-specific renders.
Pinterest still works here too. AI is most useful when you want to generate something specific that doesn't exist in a reference image library.
Generate 6 concept directions for a client in under 2 minutes — try RoomLift free
Stage your first room in 20 seconds. No design skills needed.
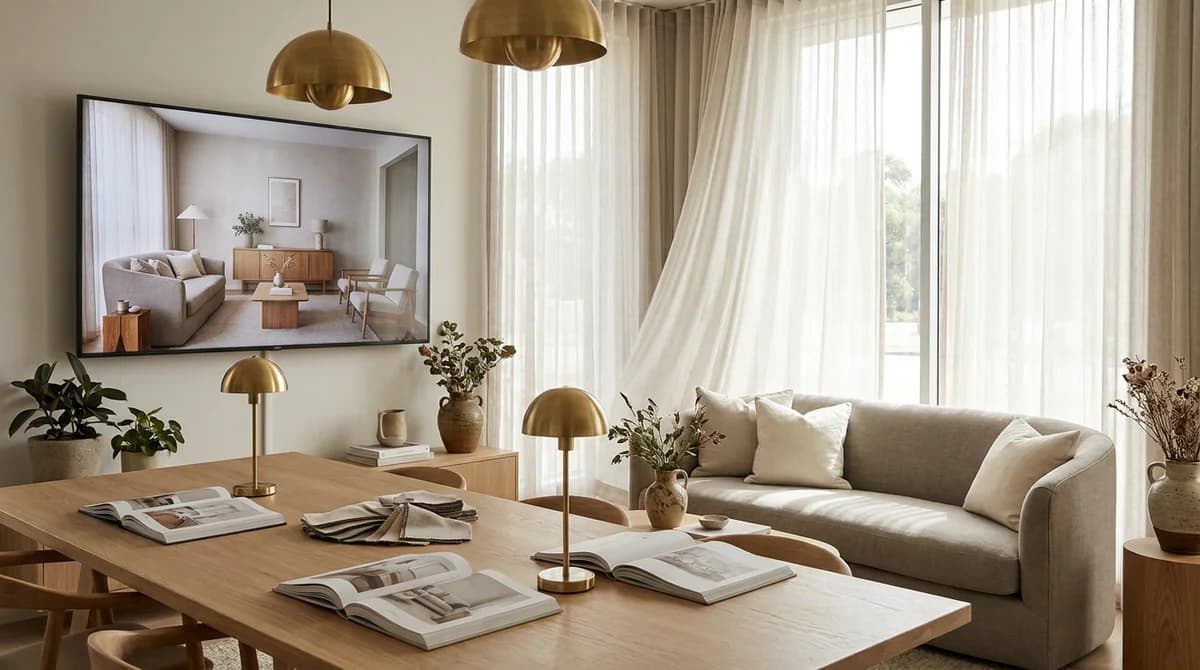
Step 3: Room Concept Visualization with RoomLift
This is where the biggest time saving happens.
The basic workflow:
- Take or receive a photo of the room (empty is ideal — occupied rooms work but give less dramatic before/after results)
- Upload to RoomLift
- Select the design style that matches the agreed direction
- Generate
- Review the outputs — typically 2–4 variations are generated per run
- Download the best ones for client presentation
For presenting multiple directions:
Run the same room photo through different style selections. A living room uploaded once can produce a Scandi version, a Japandi version, and a Modern version in under two minutes. Present all three to the client as "here are three directions we can go" — the visual clarity makes it easy for clients to decide.
Tips for better inputs:
- Well-lit photos produce significantly better outputs — natural light from a window is ideal
- Shoot from the corner of the room or from a doorway to capture as much of the space as possible
- Empty rooms give the AI the most freedom; cluttered rooms with existing furniture can confuse the output
Step 4: Refinement and Client Feedback
AI lets you iterate on client feedback in real time. If a client says "I like this but can we make it warmer, less minimal?" — you can:
- Switch from a Scandi to a Modern or Traditional style and regenerate in 20 seconds
- Use RoomLift's Studio editor to adjust specific elements in an existing render
- Generate a new batch from the same photo with a different style input
The "change cycle" that used to take days now takes minutes. This changes the client relationship: instead of asking clients to commit to a direction before they've seen it, you can show them the outcome first.
Step 5: E-Design Deliverables
For e-design clients — those you work with remotely without site visits — AI renders are often the primary deliverable. The standard e-design package includes:
- Concept renders showing the room in the agreed style
- Furniture specification list with links to purchase
- Mood board
- Paint and material recommendations
AI handles the visual component of this package. You focus on the specification, sourcing, and design logic.
A practical e-design workflow:
- Client submits room photos, measurements, and a brief
- You generate 2–3 concept directions in RoomLift and present them
- Client selects a direction; you refine and generate the final render in 4K
- You build the specification list around the style and proportions shown in the render
- Deliver the full package: final render, spec list, mood board, care instructions
The render quality from RoomLift's Pro 4K setting is consistently high enough that clients treat it as the reference image for furniture selection.
Step 6: Portfolio and Marketing
Good renders build your portfolio. AI means you can create portfolio-quality visualization work without waiting for projects to complete.
For portfolio building:
Generate concept renders for room types you haven't worked in yet. A bedroom designer can produce a kitchen portfolio without having a kitchen client. A residential designer can develop a hospitality concept series. The renders are real-quality work — just concept work.
For social content:
RoomLift's video export feature creates smooth walkthrough videos from any render automatically. These are ready for Instagram Reels and TikTok without additional editing. Short-form before/after content consistently outperforms static posts on every platform.
Real Pricing Impact: What AI Has Done to Design Fees
AI rendering changes the math on what you can charge and how you price your work.
Old model: 10 hours of concept work, 3 days waiting for renders, 1 revision cycle = significant time cost absorbed by the designer or built into flat fees.
New model: Concept work takes 2–3 hours. Renders are done in minutes. Revision cycles happen in the client meeting.
This creates two options:
Option 1: Keep your fees the same and increase your margin. You deliver the same product in less time. The client sees no difference in quality — they see more renders, faster.
Option 2: Increase fees based on what you can now deliver. E-design packages that previously required outsourced rendering at $200–$500 per scene can now be delivered entirely in-house. Add the cost saving to your margin or use it to offer more competitive e-design pricing.
Most designers do both: take higher-margin projects at existing rates and expand into e-design with pricing that reflects the reduced time cost.
Practical Examples by Project Type
Residential Redesign (In-Person Client)
Use AI in the initial concept meeting. Present 3–4 style directions rendered from photos of the client's actual room. The alignment conversation becomes visual and immediate rather than abstract and verbal.
E-Design Package (Remote Client)
AI is the backbone of the deliverable. Generate a final 4K render as the visual centerpiece of the package. Build all specifications and sourcing around the render aesthetic.
Real Estate Staging Brief
Generate staged versions of empty rooms for agents or property developers who need to visualize the sold potential of a space. This is a growing revenue stream for interior designers — agents need fast, quality staging visuals, and designers know how to make spaces look their best.
New Build Visualization
Developers often need to present unbuilt spaces to buyers or investors. Use RoomLift to generate concept renders from architectural photos or renders of the shell, applied with the agreed interior style.
Getting Started Today
The fastest way to understand what AI rendering does for your practice is to use it on one real project. Take a photo of a client's room — or your own home — and run it through RoomLift.
You don't need any design software experience. You don't need to learn prompting or modeling. Upload, select a style, generate. The result tells you more than any description of the tool can.
The designers who tried this once are not going back to waiting three days for renders. The ones who haven't tried it yet are still writing emails to 3D artists.
RoomLift offers a free trial — start with one room and see what changes in your workflow.
Sources & References
- McKinsey & Company (2023). The State of AI in Design and Architecture. McKinsey Insights.
- American Society of Interior Designers (2024). Interior Design Outlook and State of the Industry. ASID Research.
Ready to transform your listings?
Stage your first room in 20 seconds. No design skills needed.