Shotlist für Immobilienfotografie: die komplette Checkliste
Jul 31, 2026 · 11 Min. Lesezeit
Die Shotlist für Immobilienfotografie, die Profis nutzen: Checklisten Raum für Raum, Bildanzahl, Blickwinkel und Varianten je Objekttyp für schnellere Shootings.
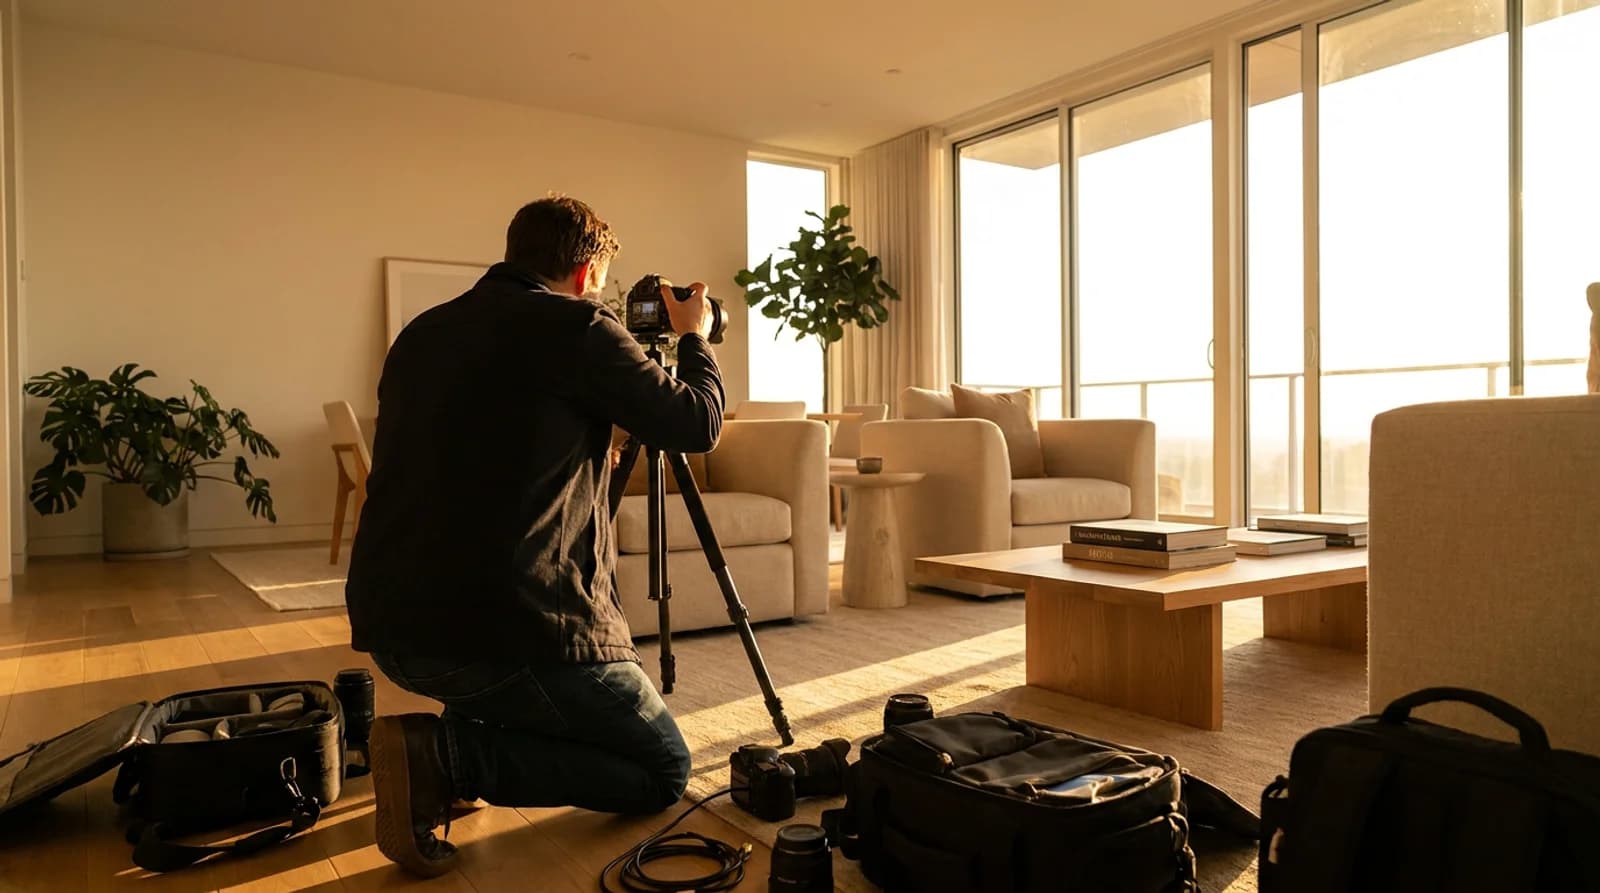
Eine Shotlist für Immobilienfotografie ist eine Raum-für-Raum-Checkliste aller Fotos, die ein Inserat braucht – in fester Reihenfolge, mit Blickwinkel und Bildanzahl für jede Aufnahme. Sie existiert, damit Sie sich mitten im Shooting nie auf Ihr Gedächtnis verlassen müssen, nie das eine Foto verpassen, nach dem der Makler um 21 Uhr fragt, und nie quer durchs Haus zurücklaufen, weil die Schrankaufnahme gefehlt hat. Dieser Leitfaden liefert die komplette Checkliste nach Raum, zeigt, wie sie sich bei leeren, luxuriösen und Eigentumswohnungs-Inseraten verändert, und erklärt, wie dieselbe Liste Ihr virtuelles Staging und Ihre Video-Deliverables speist.
Warum eine Shotlist der schnellste Gewinn für Ihren Workflow ist
Die Fotografen, die pro Woche die meisten Inserate schaffen, sind nicht die schnellsten Schützen. Sie sind die, die nie nachfotografieren müssen. Eine feste Shotlist nimmt Ihnen jede Entscheidung ab, die Sie sonst vor Ort treffen müssten: welcher Blickwinkel, wie viele Aufnahmen, welche Reihenfolge. Sie arbeiten sie einfach ab.
Die Rechnung dahinter ist simpel. Ein Standardobjekt mit 185 bis 230 m² lässt sich mit fester Liste in rund 60 bis 90 Minuten fotografieren, gegenüber 90 bis 150 Minuten, wenn Sie Raum für Raum aus dem Gedächtnis arbeiten. Der Großteil dieser Differenz ist Rückweg: zurück in die Küche, weil die Insel-Aufnahme gefehlt hat, oder zurück ins Schlafzimmer, weil der Schrank nie drankam. Eine Shotlist eliminiert genau diesen Rückweg.
Es gibt auch einen Vorteil auf der Lieferseite. Laut Zillow-Recherche zum Engagement bei Inseratsfotos liegt der Sweetspot für Käuferaufmerksamkeit bei 22 bis 27 Fotos – genug, um jeden Raum zu zeigen, ohne Scroll-Müdigkeit auszulösen. Wer nach Liste fotografiert, trifft diese Spanne zuverlässig, weil schon vor dem Öffnen des Laptops feststeht, was aus der Bearbeitungswarteschlange kommt.
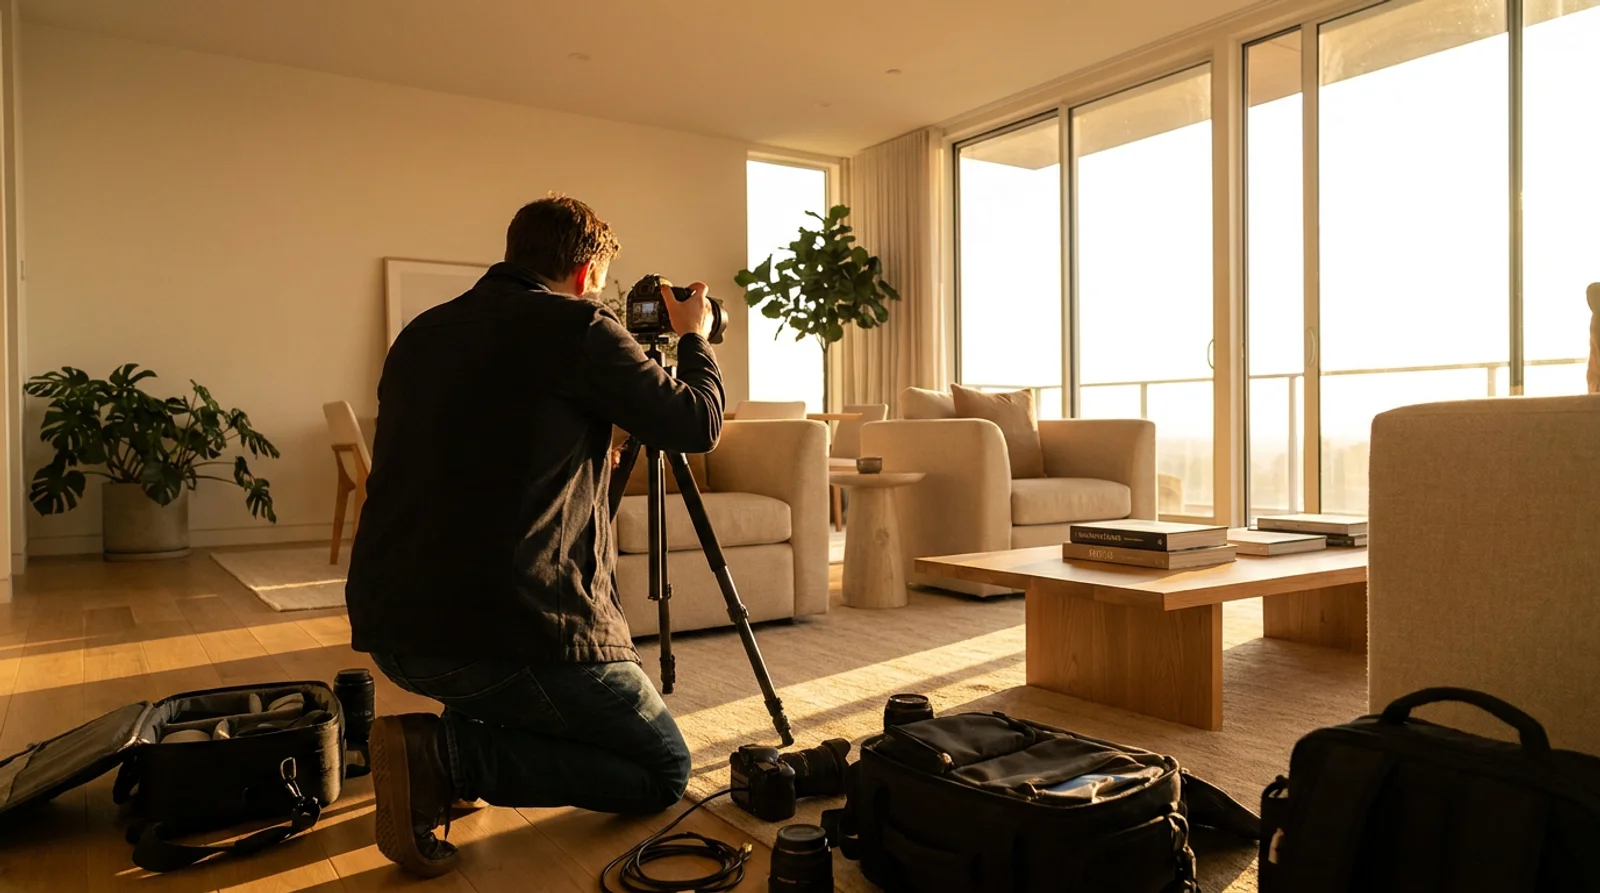
Checkliste für die Vorbereitung vor dem Shooting
Die halbe Miete für ein sauberes Shooting entsteht, bevor Sie die Kamera überhaupt in die Hand nehmen. Schicken Sie diese Liste 24 Stunden vorher an den Makler (oder Eigentümer) und bestätigen Sie sie bei Ankunft noch einmal:
| Aufgabe | Wer erledigt es | Warum es wichtig ist |
|---|---|---|
| Arbeitsflächen und Oberflächen freiräumen | Eigentümer/Makler | Unordnung ist Grund Nr. 1 für Nachbearbeitung oder Nachfotografieren |
| Alle Innenleuchten einschalten | Fotograf oder Makler | Warmes, geschichtetes Licht schlägt flaches Tageslicht allein |
| Haustiere, Katzentoiletten, Näpfe entfernen | Eigentümer | Nicht verhandelbar für Inseratsfotos |
| Alle Jalousien/Vorhänge öffnen | Fotograf | Maximiert Tageslicht, zeigt die Aussicht |
| Autos aus Einfahrt/Straße entfernen | Eigentümer | Saubere Außenaufnahmen brauchen freie Sicht auf die Zufahrt |
| Räume für virtuelles Staging markieren | Makler + Fotograf | Legt schon vor der Bearbeitung fest, welche leeren Räume eingerichtet werden |
| Sonnenuntergangszeit bei Twilight-Shooting prüfen | Fotograf | Twilight-Außenaufnahmen haben ein Fenster von 20 bis 30 Minuten |
| Wetter für Außen-/Drohnenaufnahmen prüfen | Fotograf | Bewölkter Himmel braucht in der Bearbeitung oft einen Himmelaustausch |
Diese letzte Zeile zählt am meisten. Wer schon beim Rundgang entscheidet, welche Räume virtuell eingerichtet werden, statt das drei Tage später in der Bearbeitungswarteschlange zu klären, verhindert, dass Staging zum Flaschenhals wird. Mehr zu dieser Übergabe in unserem Leitfaden dazu, ob Immobilienfotografen virtuelles Staging anbieten sollten.
Die Shotlist Raum für Raum
Das ist die Kernliste. Fotografieren Sie in dieser Reihenfolge: zuerst außen (bestes Licht), dann innen vom größten zum kleinsten Raum, zum Schluss die Details. Die Zahlen unten gelten pro Raum, bevor die Bearbeitung die schwächsten Aufnahmen aussortiert.
Außenaufnahmen
| Aufnahme | Blickwinkel | Anzahl |
|---|---|---|
| Frontansicht, gerade | Augenhöhe, zentriert auf die Haustür | 2–3 |
| Frontansicht, angeschnitten | 3/4-Winkel mit Tiefe und Bepflanzung | 1–2 |
| Straßenansicht / Curb Appeal | Vom Gehweg oder der Straße, weit | 1 |
| Garten hinten/seitlich | Weit, zeigt die volle nutzbare Fläche | 2–3 |
| Eingang/Veranda | Nah, zeigt Tür und Hausnummer | 1 |
| Twilight-Außenaufnahme (falls angeboten) | Gleicher Frontwinkel, blaue Stunde | 1–2 |
| Luftaufnahme/Drohne (falls angeboten) | Senkrecht von oben und im 45-Grad-Winkel | 2–3 |
Wohnzimmer
| Aufnahme | Blickwinkel | Anzahl |
|---|---|---|
| Weite Übersichtsaufnahme | Vom Eingang aus, von Ecke zu Ecke | 2 |
| Alternativer Weitwinkel | Gegenüberliegende Ecke, anderer Blickpunkt | 1 |
| Besonderes Detail | Kamin, Einbauten oder Fenster mit Aussicht | 1 |
Küche
| Aufnahme | Blickwinkel | Anzahl |
|---|---|---|
| Weite Übersichtsaufnahme | Vom Eingang aus, zeigt den gesamten Grundriss | 2 |
| Insel-/Arbeitsplatten-Detail | Gerade oder im 3/4-Winkel, Augenhöhe | 1 |
| Geräte-/Ausstattungsdetail | Herd, Dunstabzug oder Rückwand, falls hochwertig | 1 |
Hauptschlafzimmer
| Aufnahme | Blickwinkel | Anzahl |
|---|---|---|
| Weite Übersichtsaufnahme | Von der Tür oder gegenüberliegenden Ecke | 2 |
| Schrank-/Stauraum-Detail | Offene Tür, gerade | 1 |
| Eigenes Bad (falls vorhanden) | Siehe Badezimmer-Liste unten | - |
Weitere Schlafzimmer
| Aufnahme | Blickwinkel | Anzahl |
|---|---|---|
| Weite Übersichtsaufnahme | Von der Tür aus, von Ecke zu Ecke | 1–2 |
Badezimmer
| Aufnahme | Blickwinkel | Anzahl |
|---|---|---|
| Weite Übersichtsaufnahme | Von der Tür aus, zeigt Waschtisch und Wanne/Dusche | 1–2 |
| Waschtisch-/Armaturen-Detail | Gerade, Augenhöhe | 1 |
Detail- und Lifestyle-Aufnahmen
| Aufnahme | Warum sie auf die Liste gehört |
|---|---|
| Bester Ausblick vom Grundstück | Performt stark auf Social Media und als MLS-Hauptbild |
| Architektonisches Merkmal | Treppe, Einbauten, offene Balken oder historische Details |
| Außenwohnbereich | Terrasse, Deck oder Pool, falls vorhanden |
| Garage/Stauraum/Hauswirtschaft | Käufer, die gezielt nach Platz suchen, achten darauf |
| Nachbarschafts-/Ausstattungsaufnahme | Gemeinschaftspool, Park oder Straßenbild bei Eigentumswohnungen und Wohnanlagen |
Shotlist-Varianten je Objekttyp
Die Grundliste oben passt sich an, je nachdem, was Sie fotografieren. So verändern die drei häufigsten Objekttypen sie.
| Element | Leerstehend | Luxus (750.000 €+) | Eigentumswohnung/kleine Fläche |
|---|---|---|---|
| Weitwinkelaufnahmen pro Raum | 2–3 (keine Möbel als Maßstab) | 2–3 plus ein Hero-Winkel pro Raum | 1–2 (Räume wirken kleiner, weniger Winkel nötig) |
| Virtuelles Staging | Jeden Raum beim Rundgang für Staging markieren | Optional, meist nur bei unmöblierten Räumen | Wohn-/Essbereich markieren, falls unmöbliert |
| Twilight-Außenaufnahme | Selten (leere Häuser wirken nicht einladend) | Standard-Zusatz | Selten sinnvoll |
| Drohne | Nur wenn die Grundstücksgröße es rechtfertigt | Standard-Zusatz | Auslassen, außer bei Ausstattungsfokus (Dachterrasse, Pool) |
| Detailaufnahmen | Weniger (noch nichts zu zeigen) | Mehr: mehrere architektonische Details + Ausstattung | Fokus auf Ausblick und eine Signature-Ausstattung |
| Video-Walkthrough | Üblich mit eingerichteten Stills | Standard-Zusatz | Optional, kürzere Laufzeit |
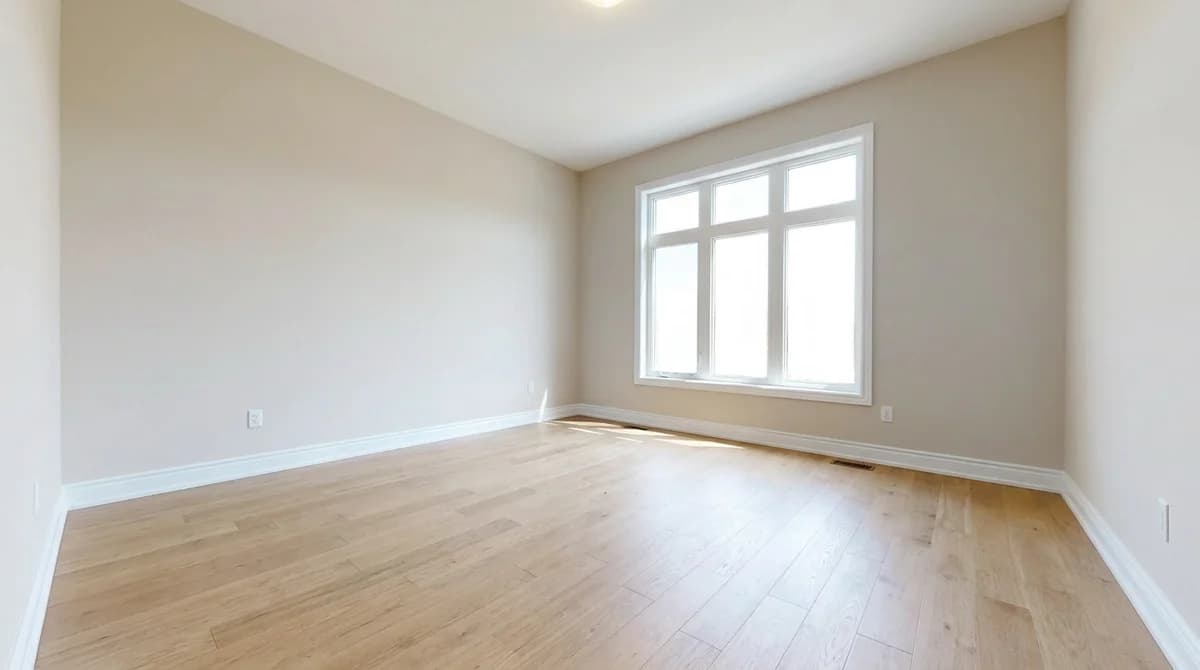
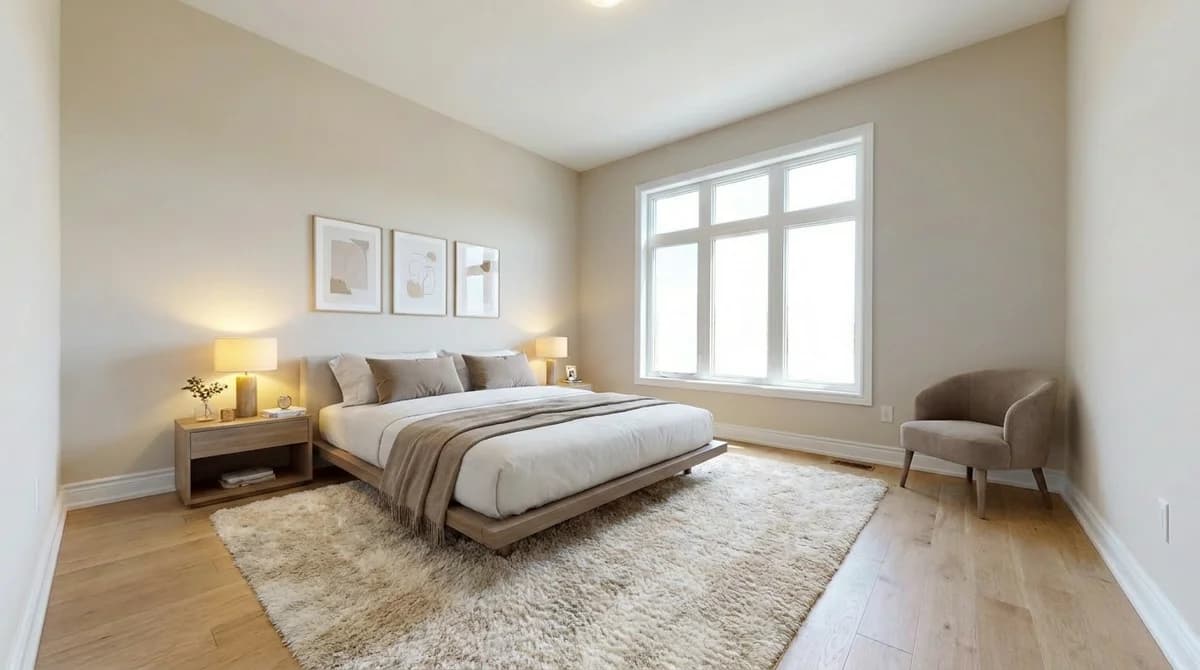
Bei leeren Objekten zählt die Shotlist am meisten, weil Sie ausgleichen müssen, was sonst die visuelle Arbeit übernimmt: Möbel. Zusätzliche Weitwinkelaufnahmen pro Raum liefern Ihnen das Material fürs spätere Staging, und wer jeden Raum schon beim Rundgang markiert, statt später anhand von Thumbnails zu raten, hält den Durchlauf schnell. Warum sich dieser Upsell bei jedem leeren Shooting lohnt, lesen Sie in unserer Aufschlüsselung zu Preisen und Zusatzleistungen für Immobilienfotografie.
Ziehen Sie den Regler, um zu sehen, wie einer dieser markierten Räume nach dem Staging aussieht:
Wie die Shotlist virtuelles Staging und Video speist
Eine Shotlist ist mehr als eine Aufnahmehilfe. Fotografieren Sie in der Reihenfolge oben, und Sie haben schon das Rohmaterial für zwei weitere Deliverables produziert, ohne die Kamera noch einmal in die Hand zu nehmen.
Fürs Staging zählen die weiten Übersichtsaufnahmen am meisten: Sie sind weit genug, um neue Möbel überzeugend unterzubringen – deshalb sind es genau diese Aufnahmen, die Sie beim Rundgang markieren. Einmal markiert, wird ein leerer Raum mit einem Tool wie RoomLifts Immobilien-Fotobearbeitung in unter einer Minute pro Stil vom Foto zum abrechenbaren, eingerichteten Deliverable – kein separater Dienstleister, kein zweiter Termin.
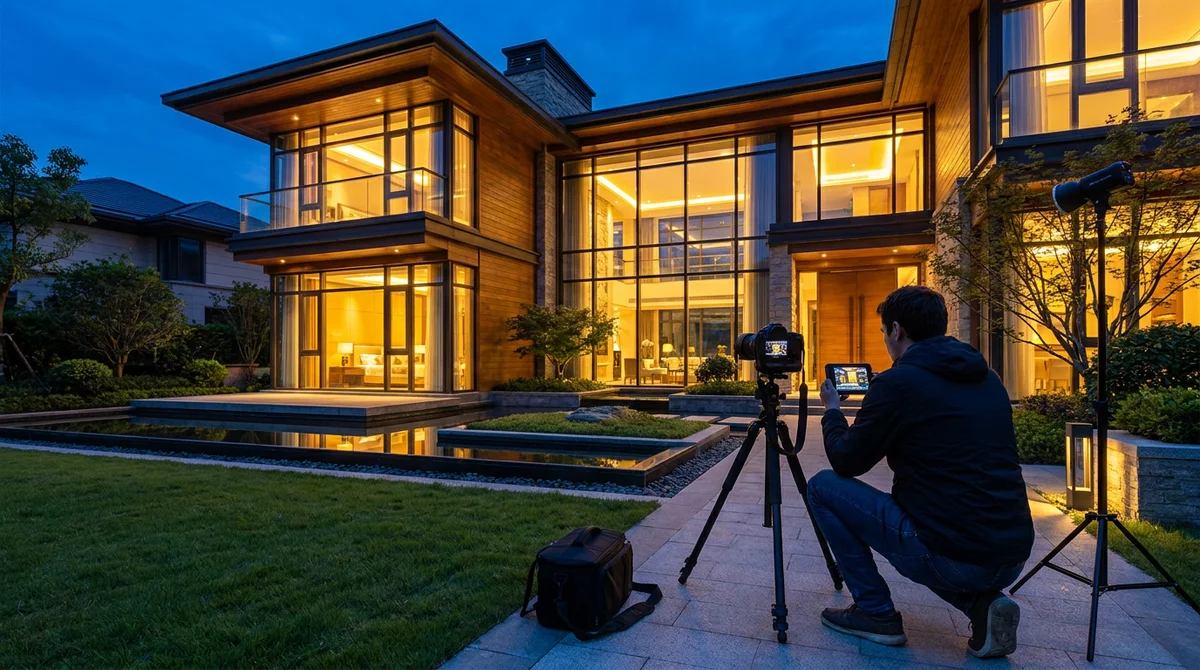
Fürs Video leistet die Reihenfolge sogar noch mehr. Eine Shotlist, die außen beginnt, dann vom größten zum kleinsten Raum geht und mit Details schließt, folgt bereits genau der Struktur, die ein Objektvideo braucht: Establishing Shot, Rundgang Raum für Raum, abschließende Details. RoomLifts Compose-Tool nimmt dasselbe Fotoset und macht daraus eine fertige Videotour – mit AI-Kamerabewegung animiert es jedes Standbild zu einem sanften Schwenk oder Zoom, passend zum jeweiligen Seitenverhältnis (16:9 für MLS und YouTube, 9:16 für Reels und TikTok, 1:1 oder 4:5 für Feed-Posts). Zu wenig Detailaufnahmen? Compose generiert stattdessen eine AI-Nahaufnahme aus einem einzigen vorhandenen Foto, statt einen Nachdreh zu erfordern. Sie müssen nicht einmal neu hochladen: Fügen Sie die Live-URL des Inserats ein, und Compose zieht Fotos und Objektdetails direkt in die Timeline. Was früher einen separaten Videografen für 300 € bis 500 € bedeutete, dauert jetzt nur noch Minuten – mit dem Fotoset, das Sie ohnehin schon aufgenommen haben.
Verwandeln Sie Ihre Shotlist in Minuten in eine fertige Videotour mit RoomLift Compose.
Stage your first room in 20 seconds. No design skills needed.
Shotlist-Fehler, die Sie ausbremsen
Ein paar Gewohnheiten heben die Zeitersparnis, die eine Shotlist bringen soll, still wieder auf:
- Räume außer der Reihe fotografieren. Im Haus hin- und herzuspringen, um „erst das gute Licht mitzunehmen", erzeugt genau den Rückweg, den eine Shotlist verhindern soll. Halten Sie sich an die Reihenfolge.
- Bildanzahl nicht vorab festlegen. Wenn „ein paar Aufnahmen von der Küche" der Standard ist, fotografieren Sie bei jedem Auftrag unterschiedlich viel, und die Bearbeitungszeit wird unplanbar.
- Staging-Markierungen erst nach dem Shooting setzen. Wer erst in der Bearbeitungswarteschlange entscheidet, welche leeren Räume eingerichtet werden, erzeugt eine komplette Extra-Runde Hin und Her mit dem Makler. Markieren Sie es vor Ort.
- Jedes Objekt gleich behandeln. Ein leeres Haus und ein für 2 Mio. € eingerichtetes Luxusinserat brauchen unterschiedliche Abdeckung. Eine Liste für beide zu nutzen bedeutet, das eine zu über- und das andere zu unterfotografieren.
- Die Kontrolle vor der Abfahrt auslassen. Neunzig Sekunden Thumbnails vor Ort durchsehen fängt einen vergessenen Blickwinkel ab, bevor Sie wieder im Auto sitzen. Wer es erst am Schreibtisch merkt, muss ein zweites Mal hin.
Mehr zur technischen Seite, wie Sie jede dieser Aufnahmen in der Kamera richtig hinbekommen – Licht, Objektivwahl, Bildaufbau – finden Sie in unserem Leitfaden mit Tipps zur Immobilienfotografie. Und wenn Sie noch prüfen, ob Ihre finale Bildanzahl und Ihre Specs die MLS-Prüfung tatsächlich bestehen: Unser Leitfaden zu MLS-Fotoanforderungen deckt Auflösung, Dateigröße und Offenlegungspflichten für Staging je nach System ab.
Alles zusammengebracht
Eine Shotlist für Immobilienfotografie ist das einfachste Upgrade für den Durchlauf, das einem arbeitenden Fotografen zur Verfügung steht: feste Raumreihenfolge, feste Bildanzahl pro Raum, und Staging-Entscheidungen vor Ort statt in der Bearbeitungswarteschlange. Konsequent angewendet sinkt ein Standardinserat von 90–150 Minuten Shooting auf 60–90, bei weniger Rückfragen und einer planbareren Bearbeitungswarteschlange. Gut gemacht wird dasselbe Fotoset zur Grundlage für Ihr Staging und Ihre Video-Deliverables – ohne zusätzliches Shooting.
Häufig gestellte Fragen
Wie viele Fotos gehören auf eine Shotlist für Immobilienfotografie?
Rechnen Sie mit 25 bis 40 finalen Bildern für ein Standardobjekt unter rund 230 m², bei Luxus- oder Großobjekten mit 50 oder mehr. Laut Zillow-Recherche erzielen Inserate mit 22 bis 27 Fotos das meiste Käuferinteresse – eine Shotlist sollte also mehr als das direkt im Shooting einfangen und in der Bearbeitung auf die stärkste Auswahl kürzen.
In welcher Reihenfolge sollte eine Shotlist für Immobilienfotografie abgearbeitet werden?
Fotografieren Sie zuerst die Außenaufnahmen, solange Licht und Himmel mitspielen, dann Raum für Raum von den großen Wohnbereichen zu Schlafzimmern und Bädern, zum Schluss Detail- und Lifestyle-Aufnahmen. Erst die feste Reihenfolge, jedes Mal aufs Neue, macht aus einer Shotlist einen echten Zeitgewinn vor Ort statt nur einer Liste auf Papier.
Brauchen leere Inserate eine andere Shotlist als möblierte?
Ja. Leere Objekte brauchen mehr weite Übersichtsaufnahmen pro Raum (2 bis 3 statt 1 bis 2), weil keine Möbel den Maßstab vorgeben oder das Bild füllen. Außerdem sollte jeder Raum bereits während des Shootings fürs virtuelle Staging markiert werden, statt das erst später in der Bearbeitungswarteschlange zu entscheiden.
Wie lange dauert ein Immobilien-Fotoshooting mit Shotlist?
Ein Standardobjekt mit 185 bis 230 m² lässt sich mit fester Shotlist in 60 bis 90 Minuten fotografieren, gegenüber 90 bis 150 Minuten, wenn Sie Raum für Raum aus dem Gedächtnis arbeiten. Die Zeitersparnis kommt daher, dass Sie nicht wegen vergessener Blickwinkel zurücklaufen und Lichtaufbauten zwischen ähnlichen Aufnahmen nicht erneut prüfen müssen.
Welche Detailaufnahmen gehören auf jede Immobilien-Shotlist?
Jede Shotlist sollte eine Detailaufnahme der Kücheninsel oder Arbeitsplatte, ein Nahbild von Waschtisch oder Wanne im Hauptbad, eine Aufnahme von Schrank oder Stauraum, ein architektonisches Merkmal (Kamin, Treppe, Einbauten) und den besten Ausblick des Objekts enthalten. Diese fünf Detailaufnahmen performen zuverlässig gut in Inseratsgalerien und auf Social Media.
Hilft eine Shotlist für Immobilienfotografie auch bei Video-Deliverables?
Ja. Eine gut aufgebaute Shotlist bringt ein Objekt bereits in die Reihenfolge, die ein Video braucht: Außen-Establishing-Shot, Raum-für-Raum-Stills, dann Details. Tools wie RoomLift Compose verwandeln genau dieses Fotoset in wenigen Minuten in eine Videotour, indem sie die Stills in dieser Reihenfolge animieren – ganz ohne separaten Videodreh.
Bereit, Ihre Anzeigen zu transformieren?
Richten Sie Ihren ersten Raum ein in 20 Sekunden. Keine Designkenntnisse nötig.